Photoshop is a powerful application for processing various image files without an urgent need in using any extra software. It provides all most common features for its users to build up a new picture from scratch or edit personal photographs.
This software is an essential tool in everyday workflow of any photographer. One thing that Photoshop CS3 cannot deal with is HDR photography. There are no specific controls or adjustments for generating high dynamic range of an image. Third-party plugins are the solution of this problem.
Everything would be just perfect if CS3 version supported integration with HDR plugins. Unfortunately, you will need to use one more application for making such photos. Another variant is to upgrade your Photoshop to a later version.
There you will add Aurora HDR plugin to the Filter drop-down menu and will create high dynamic range with just few mouse clicks. One more option is to install Aurora HDR as a standalone application and export HDR photos to Photoshop CS3.
Build up Your HDR in Photoshop CS3
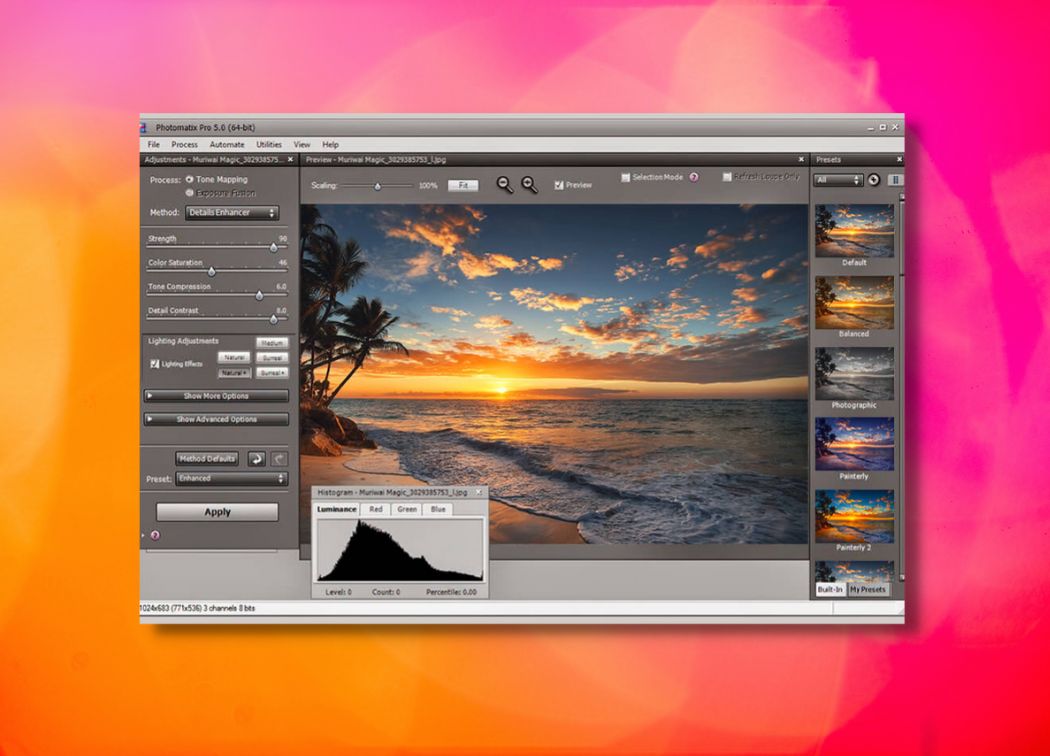
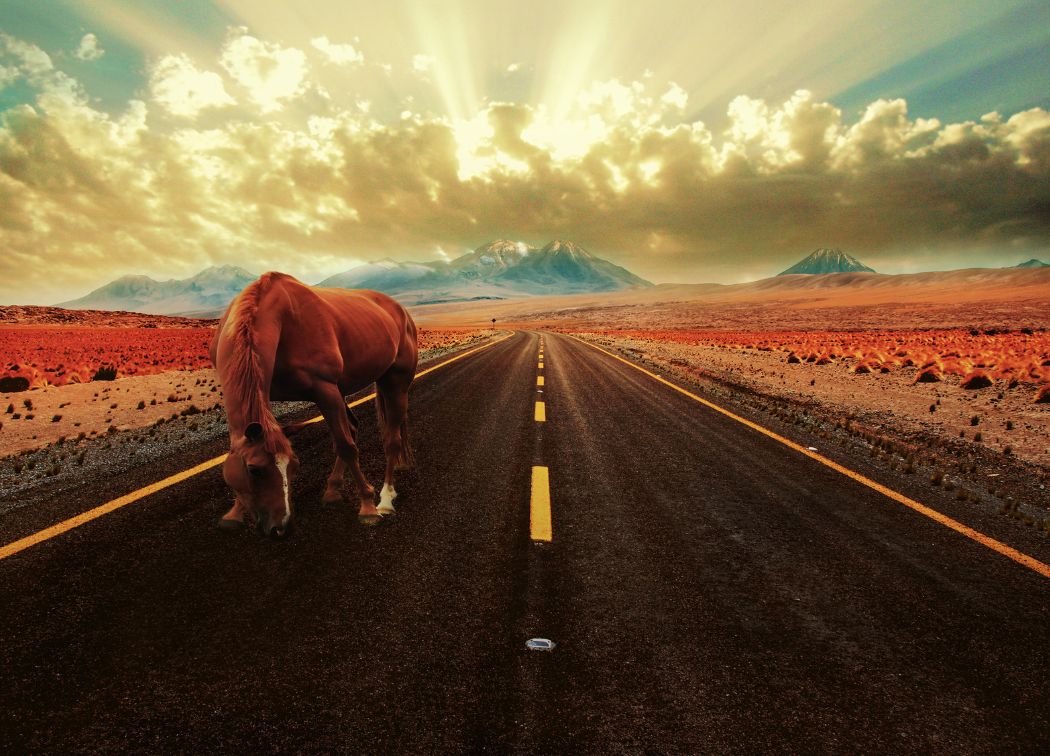
What is HDR? What are we talking about? HDR is an abbreviation for high dynamic range. It means the range between the most highlighted and the darkest parts of the scene you want to capture. The wider the range is the more realistic the photo is. It is impressive and stunning leaving noone indifferent.
It is impossible to take such a photo with a digital camera. That is why we need the help of corresponding software. If cameras could capture exactly what we want, we would not need any image processing software at all.
Your task is to take one underexposed shot, one photo with a zero exposure value and one overexposed pic. These files will undergo crucial merge by the application you choose for this task.
It is okay if you have only one shot, Aurora HDR will easily work with it. When your images are ready for processing, it is time to make a plan of merging them into an HDR image with the use of Photoshop CS3 and Aurora HDR within the shortest period of time and with minimum efforts.
Guide to Creating HDR: Photoshop CS3
It is great to divide the whole process into steps with the description and screenshots. Follow the instructions below to optimize your workflow.
- Install Aurora on your Mac. Make sure your computer meets the requirements: Mac OS X, free 2 GB or more on your hard drive and 4 GB or more of RAM. Installation of this application does not differ from doing the same with any other program. Copy paste the activation code and start using Aurora HDR.
- Upgrade to HDR Pro to use expanded features of it and to use it as a plugin in Photoshop.
- To install Aurora HDR plugin, open the application and find Aurora HDR Pro drop-down menu and click it with your mouse. Click Install Plug-ins as you see in the screenshot below.
You will see a new small window with the list of possible applications where you can use Aurora as an HDR plugin. Have a look at the screenshot below.
The arrow points at buttons that you have to click on if you want to use the plugin in that very application. Once you click it, you will see a green word Installed on the right of it as below.
Click Done and start using aurora as a standalone application right now. If you still want to combine features of Photoshop and Aurora and use them mutually, you can quit for now.
Make Your First HDR: Step-by-Step Guide
Creation of a high dynamic range takes from few seconds to few hours depending on what effect you want the image to have.
If your aim is a natural view without any unreal effects, it will take up to twenty seconds from choosing the photos to saving or sharing them. If you want to go far beyond the ordinary photography and to make your photos impressive, you can spend much time by trying all possible adjustments and controls.
- Launch Aurora HDR Pro → Load image(s) or Load sample images (if you do not have own bracketed shots, you can try and test the main features of this app with the help of built-in sample pics) → choose several photos by holding command key or by pressing command+a buttons on the keyboard → Open.
- HDR image will be made of this. Here you can tick such adjustments as Alignment, Ghosts Reduction and Chromatic Aberration Reduction. There is a prompt what each term means and what effect it adds to the photo.
- Click Create HDR and enjoy the speed of merging several shots into one. It is really fast. If you have time, you can compare Aurora with other similar apps and become a little shocked.
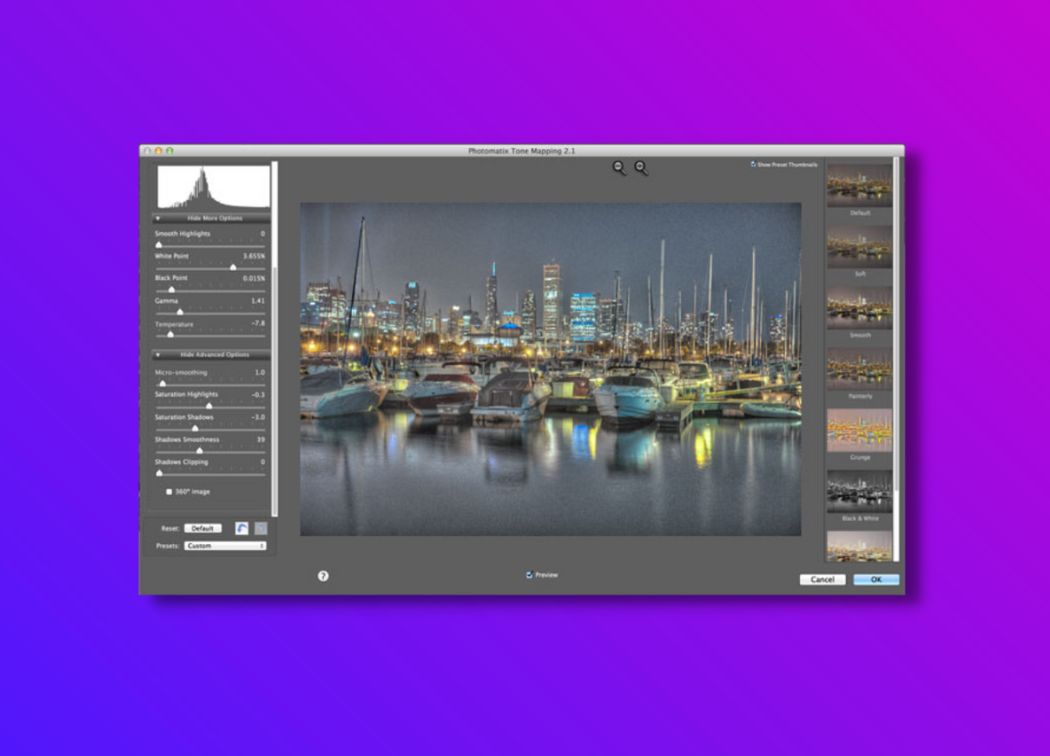
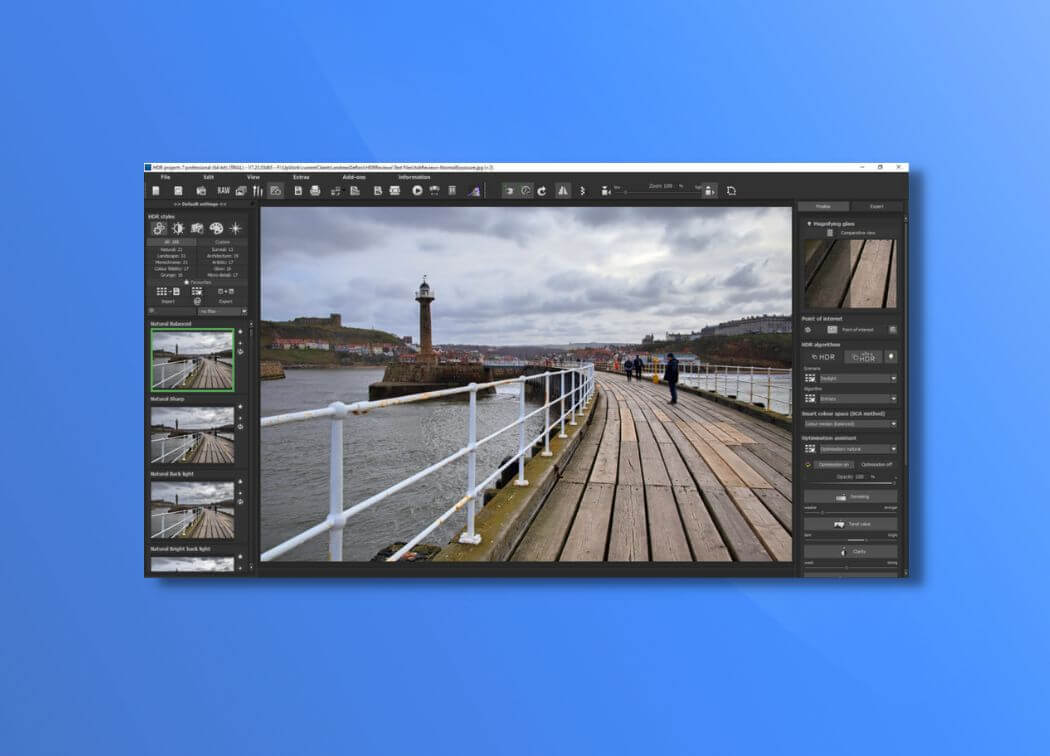
You will get something like the picture below. Enjoy your results with Aurora HDR. To continue your work with Photoshop CS3, Export a new HDR photo to Photoshop.