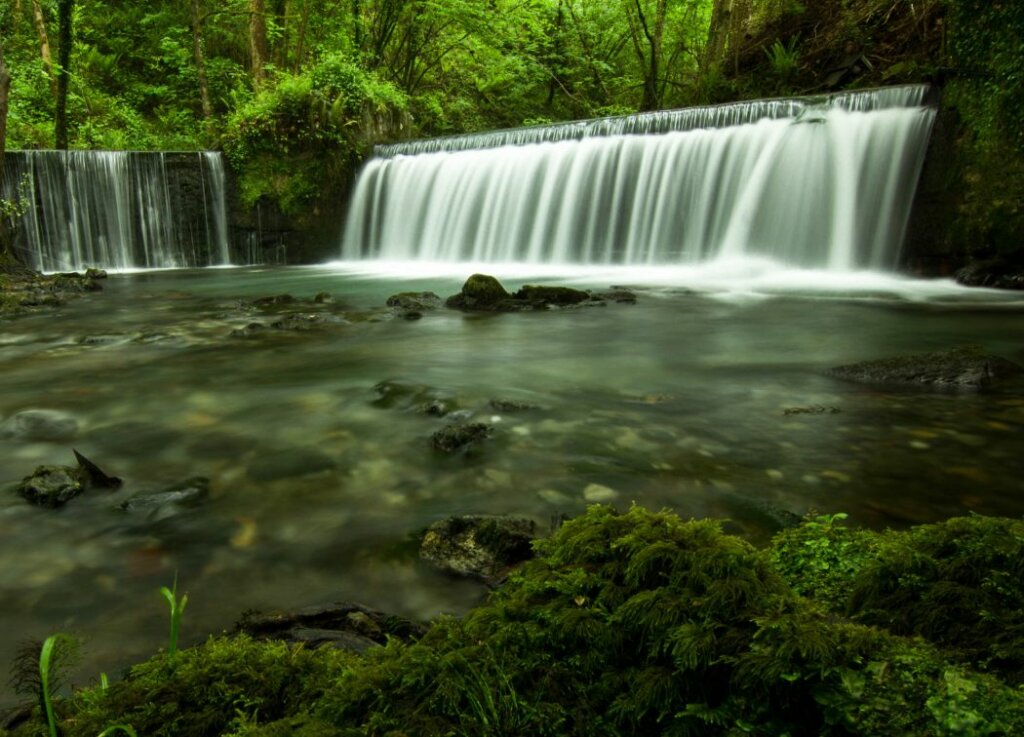
I often hear or read someone asking, “how do I photograph a waterfall?”. What they are really asking is how do I get that smooth silky falling water motion look.
The process is fairly straight forward. It just takes a few specific camera settings and a couple of pieces of gear to get amazing waterfall photos. So, keep reading and learn how to photograph a waterfall.
How do you take pictures of flowing water?
This is the quick process description with no real details.
- Mount the camera on a sturdy tripod.
- Put on a circular polarizer. Use a remote shutter release.
- Position your camera for a pleasing composition.
- Put the camera in manual mode.
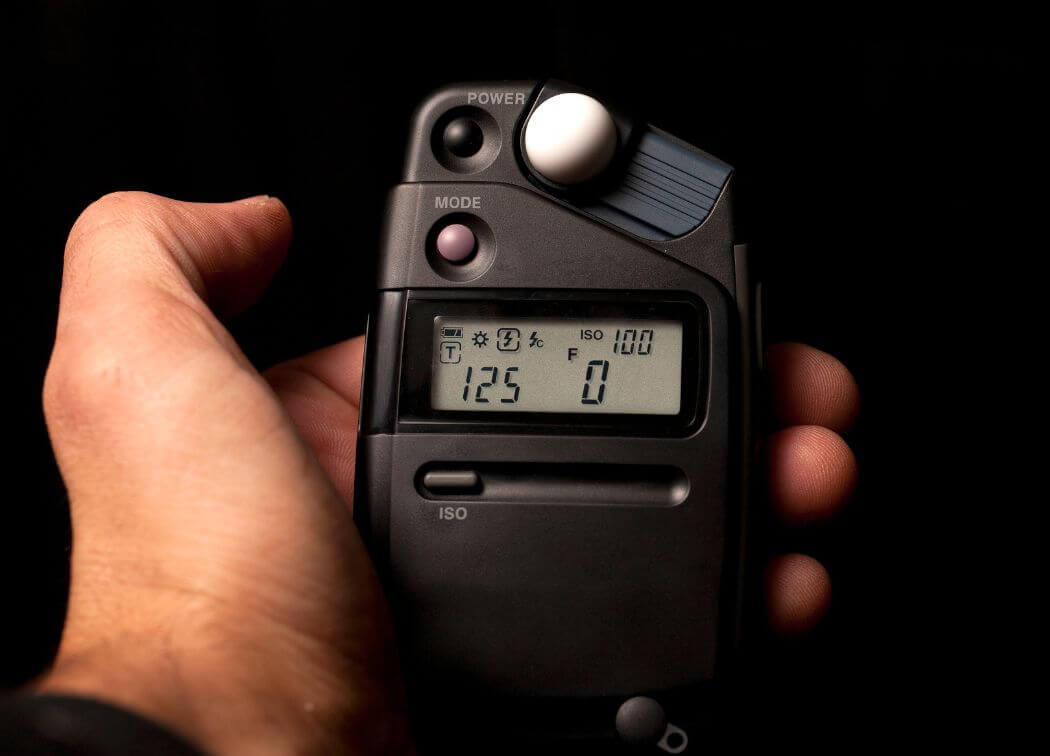
- Set the aperture to F11, the shutter to half a second and the ISO to 100.
- Focus on the closest part of the falling water.
- Adjust the polarizer to remove glare and water reflection.
- Use the remote shutter release to snap the photo.
- Check the photo
- adjust the shutter speed if necessary
- take more photos.
That’s the process in a nutshell. I have put the basic process steps above in a printable table for you at the bottom of the post. Plus, there is a downloadable infographic.
But there are a lot of small details around each of those above sentences you really should know. So, I encourage you to read through the entire post at least once.

Having the right gear
Be sure you have a tripod
Before you leave home, you need to make sure you have the right gear on board. The very first thing you are going to need is a sturdy tripod. Shooting a photo with the shutter open for half a second makes it near impossible to hand hold the camera and get a nice sharp photo.
Sometimes finding a good spot to place your tripod can be a challenge. I’ve had my tripod in some pretty precarious positions trying to get the shot that I wanted. Balanced on rocks, in a stream, hanging over the rail of a bridge, etc.
The important thing about a tripod is that it needs to be sturdy. It shouldn’t vibrate when it’s a little windy. It shouldn’t seem rickety when you touch the camera. The tripod I carry with me is the Peak Design travel tripod
You need a circular polarizer
Some people may suggest or recommend an ND filter to allow for a slower shutter speed. I do not, however. I use a circular polarizer (CPL) because it serves two purposes. One is to reduce the light transmission slightly much as an ND filter would. The other is to help remove glare, haze and reflections from the water surface.
Glare and reflections are going to cause blown out highlights especially on the crest of waterfall where the water just bending down and starting to fall. This is the place where most waterfall photos get ruined. I’ve had this happen to me.
A circular polarizer is also useful for a number of other outdoor photography applications. This makes it an all-around handy piece of gear to have with you.
My favorite accessory
The circular polarizer I carry with me, and use any time I want to handle glare, haze or unwanted reflections is the Gobe 3 peak CPL. The 3 peaks indicates it is the highest quality photographic glass and polarization coatings.
Since it gets in between this subject and the sensor, picture quality is directly related to filter quality. In the case you literally get what you pay for.
The polarizer mounts to the front of your lens using the filter threads and has a rotating ring on the front. You look at the image through the viewfinder or on screen and rotate the ring until the glare, haze or reflection is reduced.
Optional but useful filter you may want
Another item you may want in your camera bag is a variable neutral density filter. This is essentially a piece of glass that reduces the amount of light coming into the lens.
Like the circular polarizer it has a ring on the front that lets you adjust how light or dark it is. And like the polarizer picture quality is directly affected by the filter quality. Again, you get what you pay for in this case.
Take along a remote shutter release
You’ve gone to a lot of trouble getting set up to take this photo. The last thing you want is to jiggle the camera when snapping the shutter. Using a remote shutter release will allow you to snap the photo without touching the camera.
You can get fancy wireless ones, but I like the certainty of a wired release. No batteries to change, no possibility of the remote not working when you get ready to snap the photo.
You might also consider packing up a raincoat and hat if you are going to be close to the falls. It’s usually misty where a lot of water is falling fast and hitting hard. And take some microfiber cloths to wipe drops from the lens.
Photograph waterfalls and streams?
Getting there
There are very few waterfalls that you can just drive up to, get out and start snapping photos.
For most waterfalls, just getting to it will be a bit of a task. I’ve had to hike a fair distance to get to some locations. That is going to require more of a backpack type camera bag. One that you can attach the tripod to.
Before you leave the car, make sure you’ve got everything you need at the scene of the shoot. You don’t want to hike almost a mile, up and over terrain, just to find out you forgot the tripod or some other important piece of gear.
Take water with you, maybe a snack, some sunscreen (or bug spray), and maybe a small first aid kit. Tell someone where you are going and when to send help if you aren’t back by a certain time.
Composing the scene
How you go about composing your scene depends greatly on what you are trying to accomplish.
If you are trying for a beautiful landscape image, you need to be far enough away to capture the whole view of the waterfall. Or at least a significant portion of it and its surroundings.
If you are doing a portrait and want to waterfall mostly as a backdrop, then you’ll want to be closer. Being close brings the person(s) into a position of prominence in front of the waterfall.
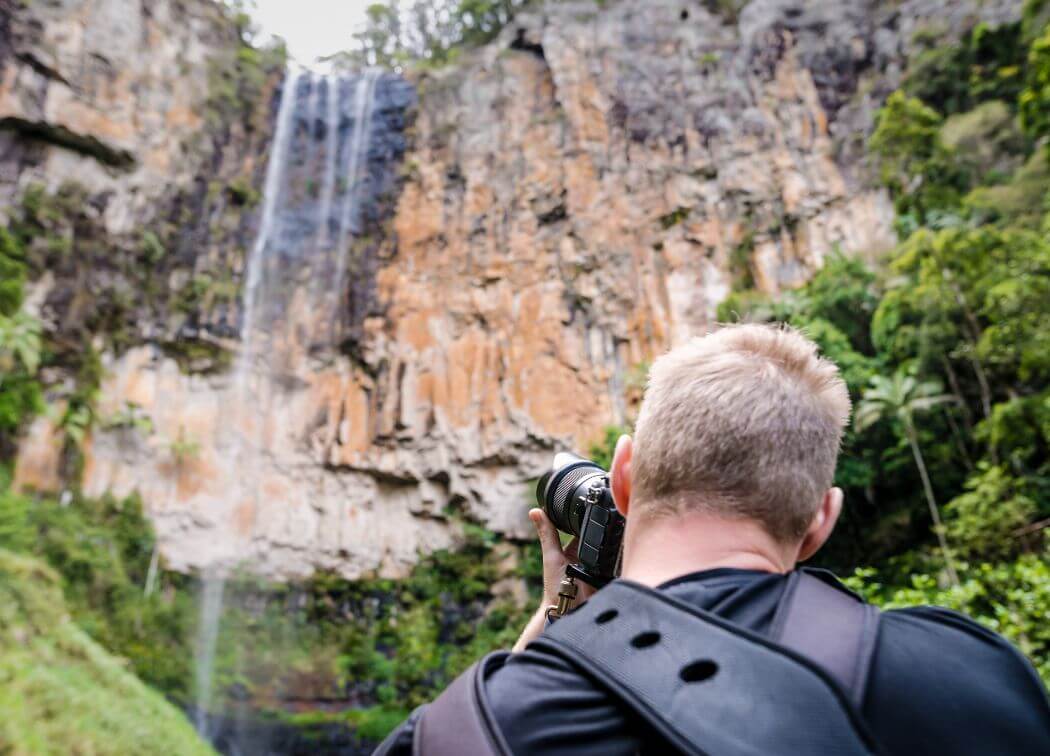
Approaching the landscape shot
In this case the waterfall is the star of the show. In many cases the waterfall is up a canyon and the only real shot is straight on with the waterfall in the middle. That’s ok, it’s making the waterfall the star. You just need to have some visual interest all around it.
If there is enough open space around the waterfall, then you can explore other angles. Maybe have the waterfall to one side, with something interesting on the other. Maybe a pool of water with some rocks and trees.
Be careful not to get too close to the waterfall that you need to shoot at an unnatural upward angle. A little bit of up angle is fine, but it should be minimal. The falls look more natural when seen head on.
Approaching the portrait shot
In this case the person(s) posing are going to be the star of the photo and the waterfall is there as an awesome background.
There are two ways to do this. One is to have the person close to the falls, slightly to one side of the falling stream and focus on the person. The other way is to be farther back and get more of the waterfall in the shot from farther away but still focusing on the person.
Keep in mind that in this case you might need to increase the shutter speed. It’s hard for people to remain perfectly still for a half a second. And even the slightest movement can cause the person the be ever so slightly soft and blurred.
For a portrait shot, its ok if the water has less motion blur to it as the person is really the focal point of the image.
Ensure visual interest to keep the photo exciting
As in all photography, ensuring the there are elements in the photo that add visual interest will make all the difference between a ho-hum photo and a WOW photo. Since were talking about waterfalls, that would be rocks, trees, jagged cliffs, fallen logs, animal life, the sky, clouds, etc.
Look for opportunities to get some of the items described above in there in pleasing arrangements. This will really help the feel of the photo.

How do you shoot a silky waterfall?
Setting up the camera
Now that you are ready to start snapping photos, it’s time to get the camera in the right state. First thing is to put the camera into manual control mode. That is the large M on the control dial. This gives you, the photographer complete control over all of the settings.
Sensitivity, depth, color and speed
Next up is adjusting the ISO to its lowest settings, normally 100, some cameras may allow you to go to 50. This reduces sensitivity to minimum which will help for longer shutter speeds and lower sensor noise.
Now adjust the aperture to F11. This will increase the depth of field to allow for sharper focus over greater distance. And it will help darken the incoming light slightly to allow for a longer shutter time.
Next set the white balance to whatever the weather conditions dictate. Usually either Sunny or Cloudy. You can also use a grey target card, shoot a test image and set a custom white balance.
Finally, time to set the shutter speed. Start at half a second. This will show up on your camera as 0.5 on the external display and usually through the view finder.
One last thing to consider
Your final choice before taking some photos, is the orientation of the camera. Landscape mode or portrait mode. Landscape being with the camera in a normal orientation with the image wider than it is long. Portrait with the camera turned 90 degrees making the image taller than it is wide.
Lots of photographers tend to shoot in portrait mode. This is because by their nature waterfalls are taller than they are wide. Personally, I use both modes, although I tend to shoot in landscape mode more often. This is because I want some visual interest to the sides. If your waterfall is up a narrow canyon, then portrait mode is the likely choice.
Time to take some photos!
Go ahead and shoot a shot and check it out. Too light? Reduce the shutter speed to the next faster setting and try again. If it still comes out too light, make sure the ISO is set as low as it will go. Also try moving the aperture up to F13 or even F16 and see if that helps.
If still too light, you may need to switch to the ND filter to get it darker. This comes at the expense of not being able to use the polarizer to reduce glare. But that may be a necessary compromise.
If the image comes out too dark, rather than increasing shutter speed, I would first turn the iso up slightly. You should be able to go up to 400 with no noticeable increase in noise. At 800 it would be time to increase the shutter speed to the next step to get more light.
You may read other recommend shutter speeds of up to 5 seconds. The problem with doing this is it blurs the water too much in my opinion.
You lose the separated streams and drops, and it just turns into a continuous flow. It you like that look, then by all means go for it. Art is subjective and everyone’s taste are slightly different. Do what makes you happy.
Editing your images
Just a few words of advice when editing a waterfall photo. You need to be careful with highlights. Blurred falling water has very light tones and its super easy to accidentally blow all those white tones out and lose detail.
Also be careful with sharpening. Again, easy to sharpen away some of the falling water blur you worked so hard to get.
If you are proficient with the use of masks in editing, you can create a mask over the top of the water. This will allow for adjusting the surrounding detail without a negative effect on the falling water.
Remember rule #1 for editing photos: less is usually more.
Quick reference chart
| Process Step | Setting |
|---|---|
| Mount camera on tripod | Landscape or Portrait |
| Attach Filter | Polarizer or ND |
| Attach Shutter Release | N/A |
| Set ISO setting | 100 or lower |
| Set aperture setting | F11 |
| Set shutter setting | half a second / 0.5 |
| Compose your shot | Choose location |
| Focus on the water | Closest to you |
| Adjust the polarizer | reduce the glare |
| Snap the photo | Repeat as necessary |
Conclusion
Photographing waterfalls is easier than this post makes it seem. I have provided a lot of details for those that are interested in them. Use what you need, ignore the rest.
Most of all, get out there and take some awesome waterfall photos!