Here’s a compilation of the 7 best tips for night photography. Daytime photography is one thing but shooting at night is a whole new challenge.
Remember, photography is all about gathering light. While some general rules of thumb will work with daylight, after dark you’ll need to add to the rule book a little bit to ensure you get excellent images.
Night Photography Settings & Tips for Total Beginners
1. Avoid light pollution
Get to a location that’s dark enough. Seems like a no brainer but it really must be said. Get some distance between you and a nearby city, that’s the key. To really avoid light pollution, you also have to factor in the severity of darkness of various places for the best possible solution.
The Dark Site Finder website should come in handy. It’ll give you a Google Map like overview of specific areas. It highlights zones heavily influenced by surrounding city pollution and those that are least affected.
2. Watch the shutter speed
The stars in our galaxy are constantly on the move and that’s due to the fact that the earth is spinning on its axis. While this movement is almost unnoticeable to the human eye, a camera is highly sensitive to it.
Super long exposure is not recommended for star photography because stars come out as a series of small and blurry trails. You can get around that by ensuring an exposure not exceeding 15 seconds.
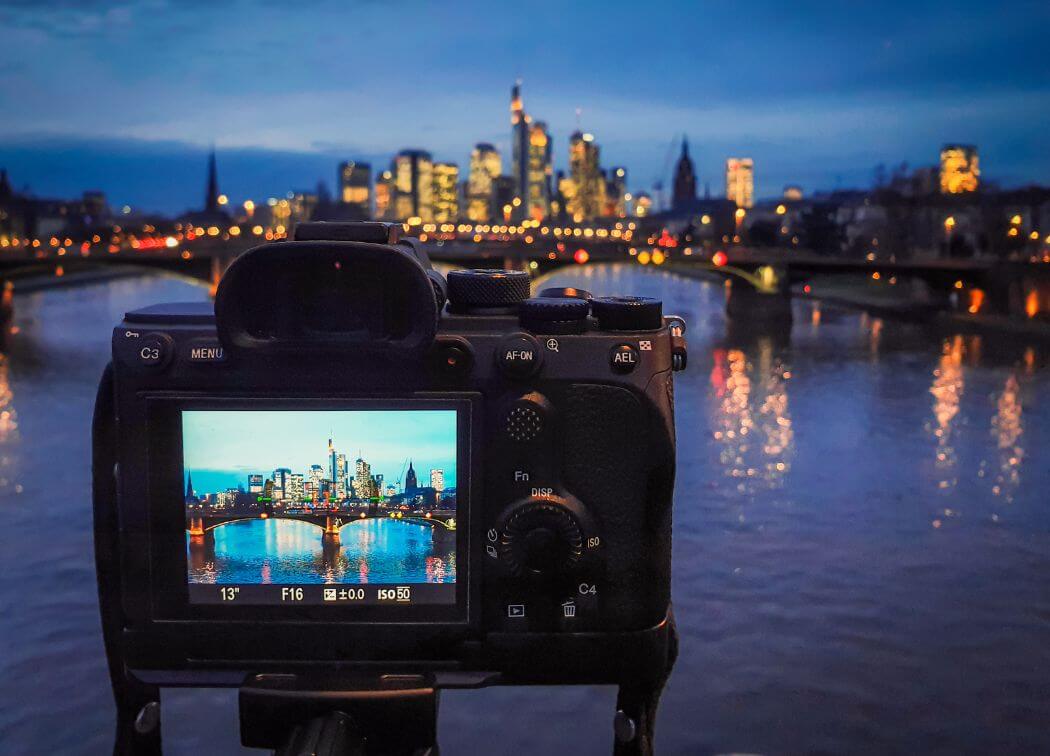
While discussing shutter speed, it’s also a good time to mention mounting your camera on a tripod. Also using a remote shutter button. Exposure times long enough to capture stars will NOT be able to be handheld. You’ll want to avoid camera shake so that the photos come out nice and sharp.
3. Use the right lens
No list of best tips for night photography would be complete without discussing using the correct lens on your camera. Perhaps the most important aspect of night photography is the lens ability to gather in very faint light.
Lenses with a wide aperture such as F4 or lower will let in more light. Therefore you won’t need as long an exposure and you won’t need to turn the ISO up nearly as much keeping the sensor noise down. Also, a super-wide-angle lens will give you a lot more sky to work with, so consider getting such a lens for this kind of photography.
It should also be mentioned that you are going to need to turn off auto focus for shooting at night. Some lenses have a setting for infinity focus which will help greatly in getting the photos sharp when doing night photography.
4. Work with the new moon
The moon can have a significant effect on your image as that light from the moon is 100 times stronger than that of any star. Therefore, the moon’s presence can wash out images, hence is undesirable especially if you are photographing the stars.
Consequently, there is a limited window of opportunity which comes in the four days before and after a new moon (A new moon is when the sky is moonless).
Alternatively, you can plan ahead of moon rises or after the moon sets and there’s some darkness to spare and get your shoots before it kicks in. Look to a website called TimeAndDate.com to get an insight as to the moon’s phases.
5. Have some foreground to work with
A shot of a starry sky can be beautiful, but stars all by themselves, not so interesting. Like adding spice to make a recipe tastier, a night sky needs to be accompanied with a complimentary foreground element to give it some depth and a sense of scale.
That means you have to scout ahead for a scenic location where the objects on the ground could be natural features for an interesting foreground. Look for things such as a picturesque mountain, a tranquil forest or a serene lake that will match the majesty of the star-studded sky.
You’ll want to do this in person during daytime because, remember the place you’re going to will be really dark to avoid light pollution. If you are lucky you might be able to see a location virtually via an app like Google Earth. Usually in person is the best option for finding the right location.
Tips for night photography continues after the photo below. This is the milky way shot near the town of Mossyrock in western Washington state. The light polution of from a very small city called Morton.
6. Stay ahead of the weather
If you throw caution to the wind, you might reach your location and leave without even pulling out your camera. Aside from a cloudy night sky, dust, mist, and smoke are challenges you’ll have to anticipate as you’ll probably be shooting from a remote location such as a desert.
Have a good weather app installed and do your homework on the target destination so as to pick out the perfect night when everything will be favorable. You could also use the aforementioned scouting trip to get the locals’ views regarding the best nights.
7. Keep an eye on the Milky Way
The mere presence of stars in the sky may not be enough, you’ll also want to be gunning for a cluster of stars to pump up the wow factor of your shot. The Milky Way provides lots of visually exciting clusters to work with, but you should know that it’s not always visible all through the year.
Regardless of hemispherical divides, it is out of visibility between November and February while it begins appearing right before sunrise when March sets in. During the subsequent months between June and August, it’ll take over the night sky for most of the night.
As September approaches, it’ll be reserved for that period right after sunset. There are great apps out there to help out with this and you could try out Star Walk 2 for example.
Bonus tip: camping in your location
In order to get the right location, with interesting foreground, you may need to resort to camping nearby. For me living in the city, there is really no way to get to a spot that is free of light pollution without diving over 50 miles.
It can be done with a quick over night trip. I often just sleep in the back on my truck. My wife prefers setting up a tent. Discussion of camping while doing night photography is a whole other post, but I would just add the following.
It’s a great option to get sunrise shots the next morning before you leave. And you can take photos of other stuff both before and after setting up camp.
Conclusion
Well, while you are interested in seeing some stars, it’s not rocket science. However, doing night and sky photography is a challenge, that requires a different approach to the norm. It just requires more planning and staging than normal, but it’s well worth it!
For those of you who might want more detailed info I am working on a tutorial PDF that will be available in the future.
If you are comfortable with manually setting your aperture, shutter speed, ISO and so forth, get started now! With these seven easy tips for night photography, you’ll get the hang of it in no time.


