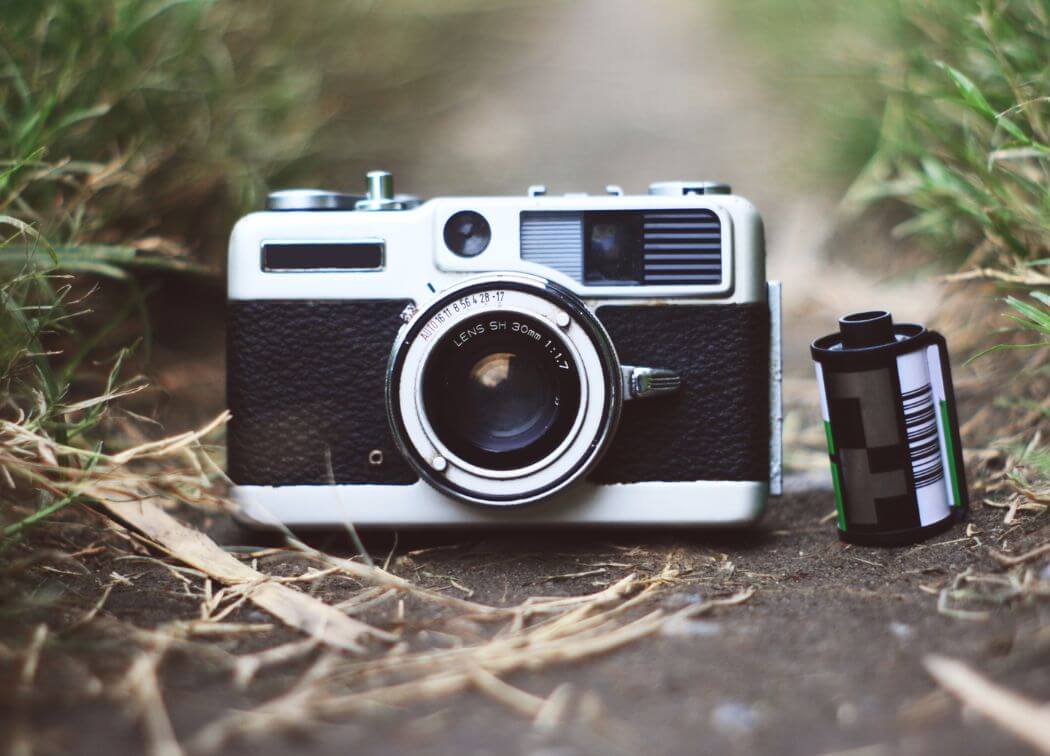
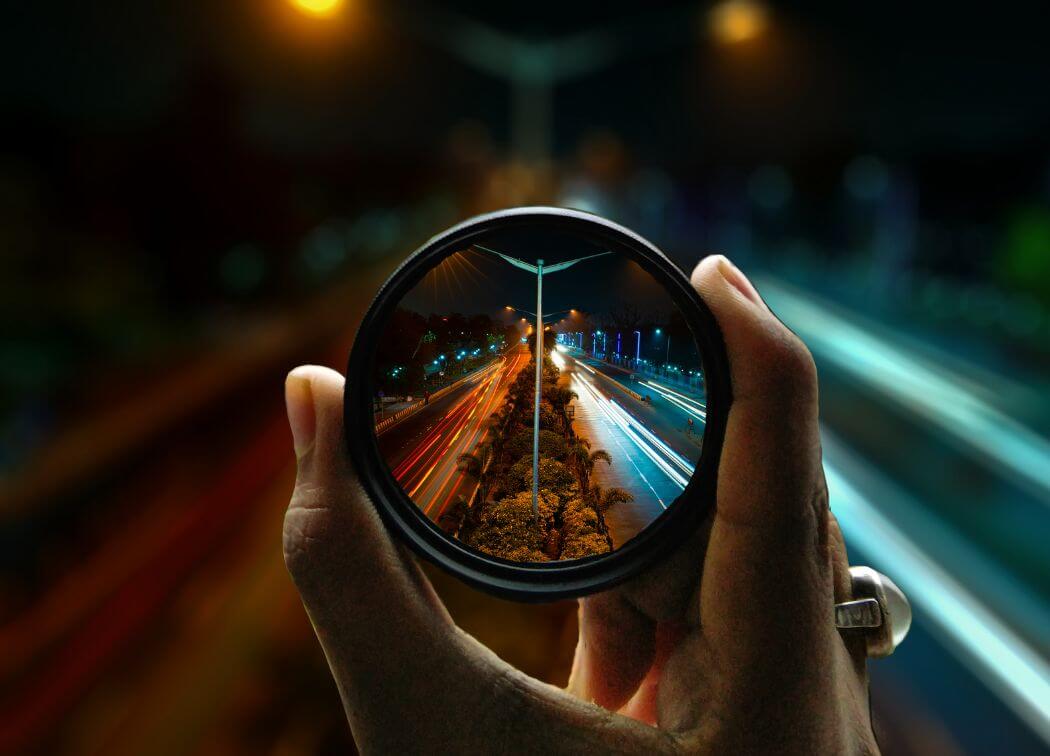
Long exposure photography simulates the passage of time in a still photograph. It does this by blurring moving elements and sharpening the static elements. But you must take care, any camera movement blurs the static elements.
Here are six long exposure photography tips you can use to prevent blurring of the static elements.
6 Tips for Shooting Long Exposure Photography
1. Use a sturdy tripod
In order to capture the motion blur to simulate the passage of time you need a long exposure. It’s hard to hold the camera perfectly still at anything but the fastest of exposures. Therefore, when you’re taking an exposure of a few seconds, you need something steadier than your hands to hold your camera.
You may set the camera on a table, or a rock but risk dropping the camera or accidental movement that can ruin your shoot.
The most common way is to put it on a good quality Tripod. You have to get at least a decent tripod as cheap low-cost tripods are going to give you camera shake too.
2. Use a Remote Shutter Release
Even with a tripod just pressing the shutter button can cause the camera to shake. There are a couple of ways to combat this problem.
One way is to set the shutter delay on the camera, so any shaking is done by the time the shutter snaps. The other is use a remote shutter release accessory.
Remotes can be connected to the camera by a cable or wireless. Either one snaps the shutter without touching and therefore without shaking the camera. These are a relatively cheap accessory which can help you get rid of camera shake.
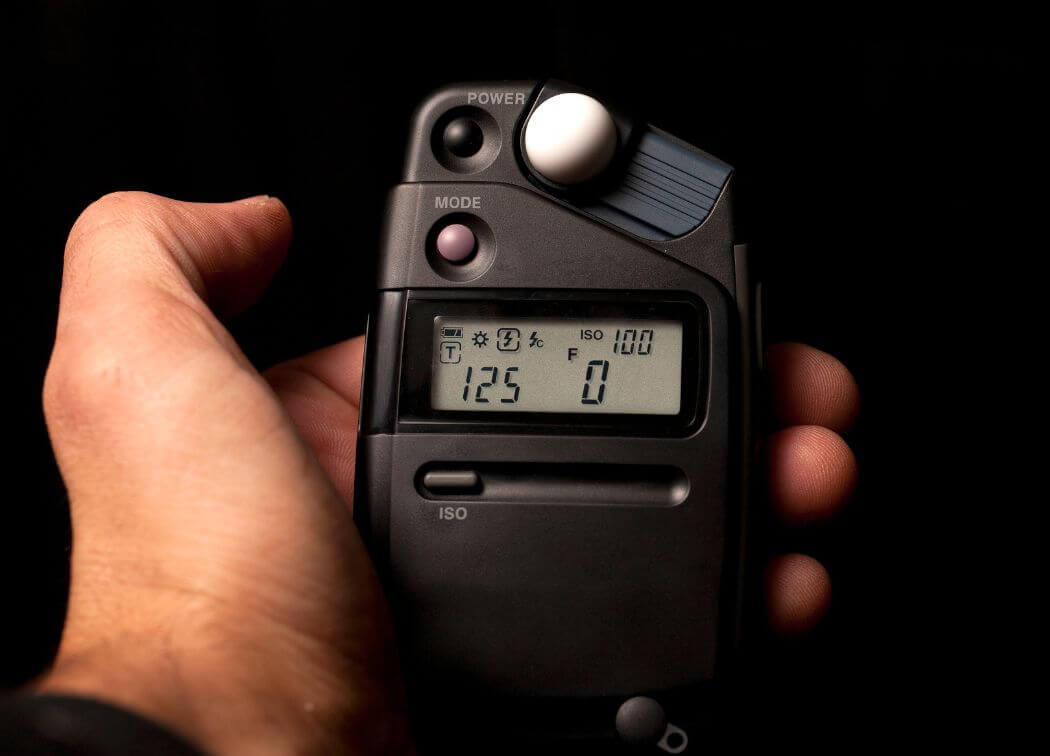
3. Use a neutral density filter
No set of long exposure photography tips would be complete without discussing Neutral density filters. Using a neutral density (ND) filter allows you to increase the exposure time by blocking some of the light going into the lens.
When talking long exposures during the day, ND filters are the only way to get more than a second of exposure time.
It’s possible calculate which ND filter you need for a given situation by hand, however there are also long exposure apps available for both iPhone and Android. The one I use on my iPhone is simply called Long Exposure Calculator by Junel Corales.
4. Use Manual Focus
Autofocus is an awesome function and convenience. Most of the time it does exactly what it’s supposed to, making it easy to take clear sharp photos. But there are times, especially when shooting long exposure, that autofocus isn’t going to work like you expect.
In low light situations autofocus has a lot of trouble finding something to focus on. Even when it seems focused it can readjust when the shutter is snapped. Using ND filters can cause the same problem.
There is a very simple solution for this situation described above. When shooting in low light use manual focus or if you have one handy, use a flashlight for focusing. Once the focus is set, turn autofocus off so it won’t change when the flashlight is off.
For using ND filters set the focus manually, or use auto-focus first, turn it off and mount the filter. Then take the shot and the camera will stay focused, and the static elements will stay nice and sharp. Just be gentle when mounting the filter or you may alter the focus mechanically.
5. Lock the mirror up
Today the are several good quality mirrorless cameras on the market. However, if you are using a DSLR camera it has a mirror that reflects the image from the lens to the viewfinder. It is positioned between the lens and the camera sensor, so it has to move before the shutter snaps. That small mirror movement causes vibration.
Most DLSR cameras have a function to lock the mirror in the up position. When you turn on the mirror lockup function it turns the shutter button into a two-stage button. The first click lifts the mirror and the shutter doesn’t open until the second click. The time between the two clicks allows the vibration of the moving mirror to stop.
If using a remote shutter release (highly recomended) the double button click is the same. Click once to lock the shutter up. Click again to take the photo.
6. Use the proper aperture setting
Closing down the aperture allows you to have longer shutter times. However, when your aperture is too small, it will start to have a diffraction effect which lowers the sharpness.
In most lenses, the diffraction and edge distortion is best in the range of between f/5.6 to f/8. In other words, you will get the sharpest images when using this range.
When you close down smaller than F/11, you will start to get images that are softer and seem a litte out of focus.
If you need a longer shutter time, use the ND filter instead of higher F-stop settings.
Conclusion
Long exposure photography is both a science and an art. Like any art, taking long exposure pictures with the right balance of sharpness and blur takes both skill and intuition.
These six tips will help you use your skills to turn intuition into great photographs. As a final tip, I recommend taking at least two photos using these tips and double check focus in between each. That way you are certain to bring home a keeper!