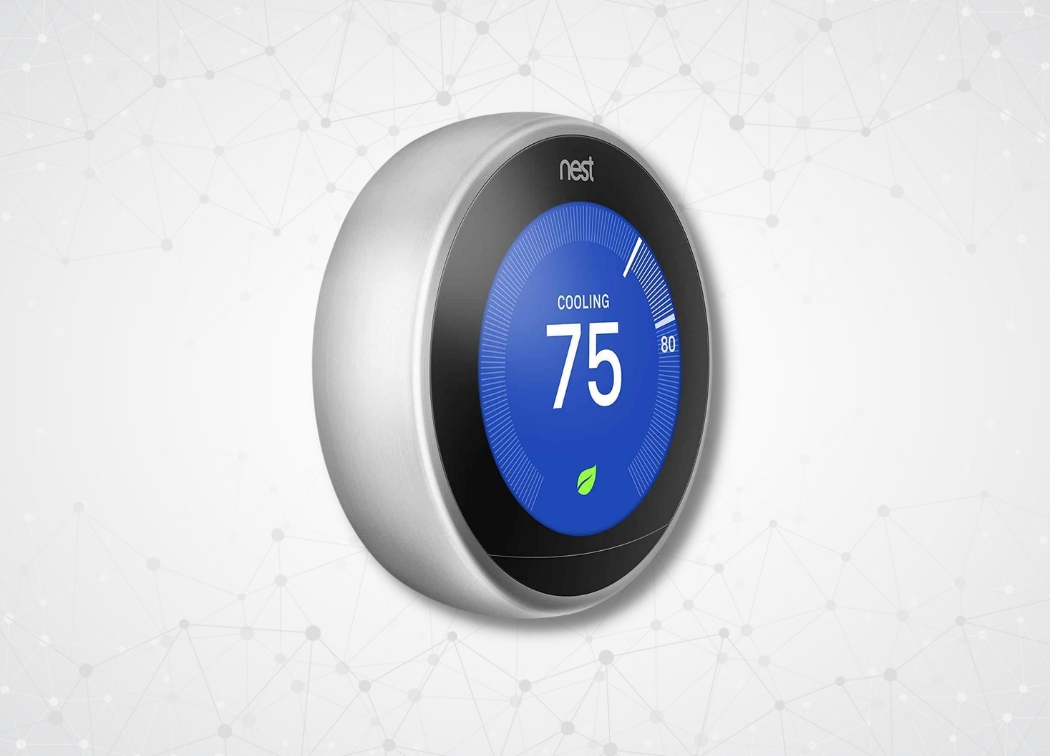
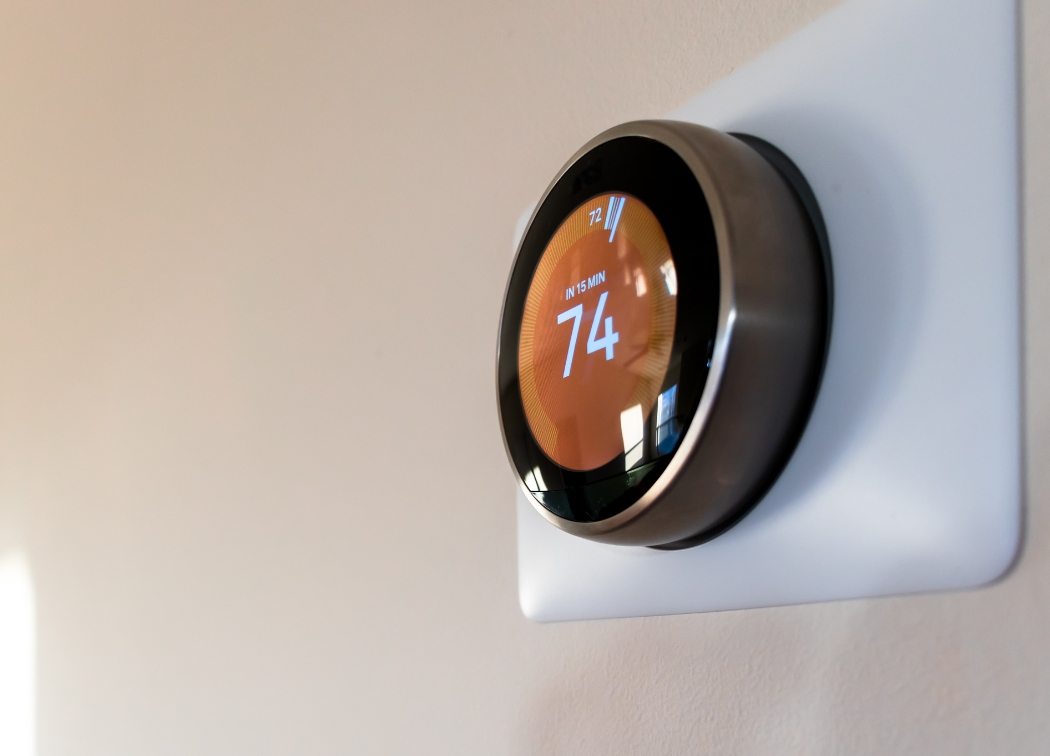
Once you’ve installed your Nest Learning Thermostat, it’s time to set it up. Unlike simple dial models that don’t allow for much configuration, Nest allows for a variety of options to be configured to your preferences.
It’s a simple process, but a process that leaves many homeowners confused.
We’re going to show you how to properly setup the Nest learning thermostat – 2nd generation t200577 model in your home.
Resetting Your Settings
In the event that you need to change your settings or you’ve made the wrong selection during setup, you will want to reset your system. This is a simple process, and one that will come in handy if you choose the wrong language during setup.
Restarting or resetting Nest is easy:
- Press the ring to open up the menu.
- Go to the settings area and tap the ring.
- Turn to the reset option and press select.
Now, you will have the option to reset particular settings.
Step 1: Choose a Language
The first step in our Nest Thermostat setup guide is to choose your desired language. If you choose the wrong language, you will need to go through the setup process again. Nest (both the app and the thermostat) have voice features. Users can choose between the following languages:
- Dutch
- English
- French
- Spanish
Once you’ve selected your desired language, it is time to move on to step 2.
Step 2: Setting Up the Internet Connection
Nest is a sophisticated thermostat that is capable of connecting to your home’s Wi-Fi network. This is an important step, but it is not required if you don’t want the advanced functionality that Wi-Fi connectivity has to offer.
When connected, you’ll be able to:
- Use the Nest App to control your Nest remotely.
- Allow Nest to access local weather information.
- Update Nest automatically.
The local weather feature allows Nest to automatically adjust settings so that they’re optimal for your system and the current temperature.
Proceeding with the setup, you’ll need to do the following:
- Highlight your home network by turning the ring.
- Select your network by highlighting and pressing select.
Note: It may take up to 30 seconds for your network to be found. If your network does not appear, wait 30 seconds and make sure that your Wi-Fi network is up and running.
Once your network has been selected, you will be prompted to enter your network password.
Users that do not have an encrypted, secure connection will not be prompted to enter their password. An on-board keyboard will appear that will allow you to type your password directly into Nest.
Passwords are case-sensitive, so capitalize letters when necessary.
Selecting the characters to spell out your password is done with the outer Nest ring. Simply turn the ring to the corresponding letter. The shift icon allows you to access all capital letters as well as symbols and numbers.
If you’ve entered that wrong character, simply click the backspace icon. Users that have selected the wrong network to connect to can hit the return icon to return back to the selection screen.
Once you’re finished, you can select the check mark and Nest will attempt to connect to the Internet.
Step 3: Setting Up the Heating and Cooling
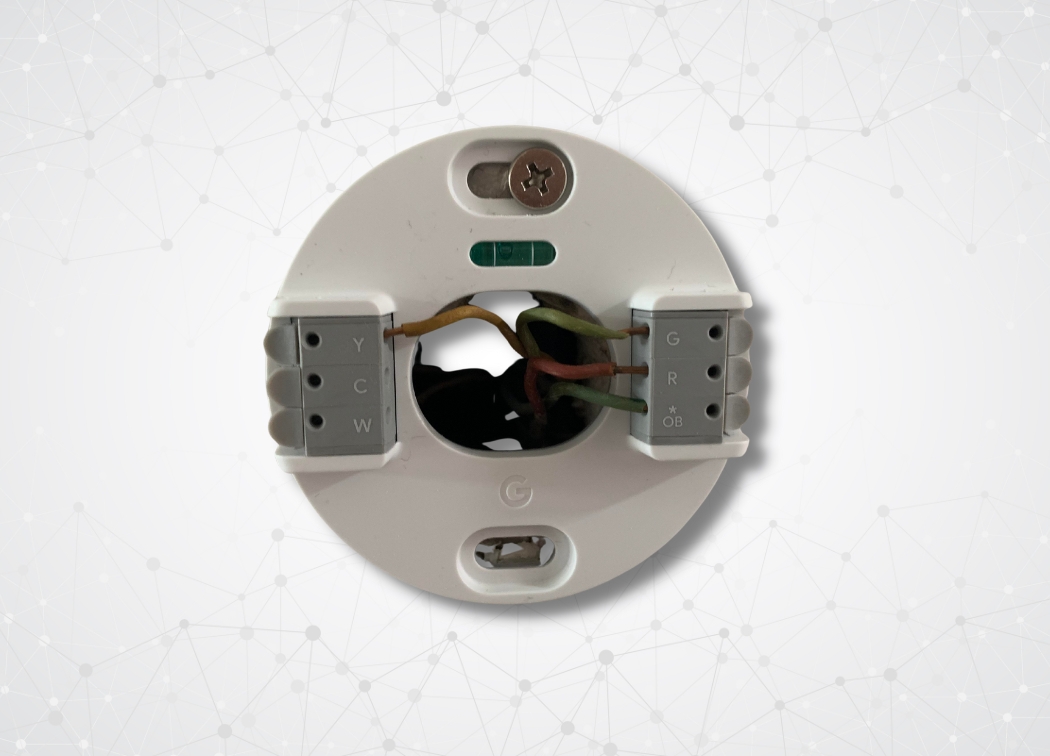
The 2nd generation t200577 model is almost done being setup. Now, you will need to setup your heating and cooling preferences. At the beginning of this step, the Nest Learning Thermostat will use the connected wires to try and learn more about your heating and cooling system.
Nest has two setup modes: pro and standard.
Pro is meant for systems that are more complex, such as those with dual fuel systems, or that have built-in humidifiers. If your system has any of these advanced options, you will want to work with a professional Nest installer. Incorrect system setup can cause your HVAC system to work improperly or become damaged.
Don’t worry. Standard systems are easy to setup, and you don’t have to worry about damaging your unit.
Errors will be displayed if the unit is installed improperly. If this is the case, you’ll want to follow the tips given by Nest. These errors must be corrected before you continue through the setup process.
Nest will ask you simple questions about your heating and cooling system. First, Nest will ask if:
- You have a conventional heating and cooling system.
- Fuel sources (gas, electric, oil, etc.)
- Air type: forced air, radiator, in-floor, etc.
- You have a heat pump.
Users will also have the option of choosing “I don’t know” and skipping many of the related questions. It’s important to input information as accurately as possible to be able to maximize your thermostat’s efficiency.
Wire orientation is the final question that will be asked. If you do not know the orientation, the system will default to the “O” orientation automatically.
Note: You can alter these settings at any time in the Settings -> Equipment menu.
Step 4: Setting Up Your Location
If you’re wondering why Nest is asking about your location, it is to further refine the system to your climate. Information that is asked will include:
- Country
- Zip / postal code
- Time zone
- Location description
- Number of thermostats installed
- The year the building was built
This section is fast to setup, and ends with you choosing a name for your system.
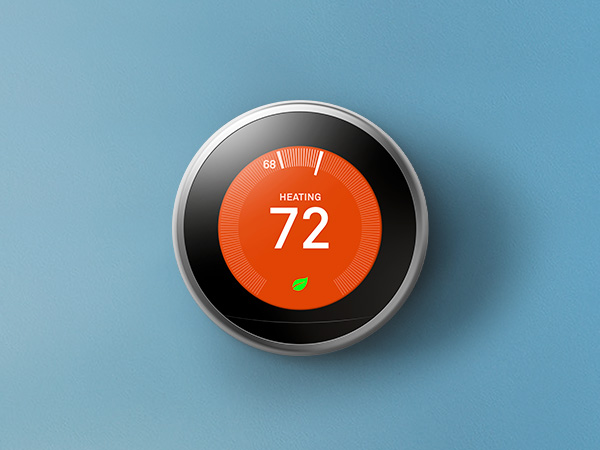
Step 5: Setting Up the Temperature
The Nest Learning Thermostat – 2nd generation t200577 has one setup step left: temperature. The temperature settings are very precise and include:
- Allowing Nest to start the heating and cooling cycle.
- What temperatures you would like to keep your home when you’re away. Low and High temperatures are chosen.
Now, you simply turn the ring to the desired temperature and Nest will handle the rest. Nest is a smart thermostat that will learn your behaviors. If you normally walk in the door at 5 pm and turn up the heat, the system will recognize this pattern and adjust accordingly.
Downloading the Nest App

One part of the setup process that Nest doesn’t discuss in the initial setup process is setting up your phone’s app. This app will allow you to:
- Adjust Nest’s temperature schedule by day and hour.
- Change your thermostat remotely.
- Shut off, or turn on the system.
You will gain the utmost in control over your thermostat if you download the accompanying app. Downloading the app is simple. Both the Google Play Store and the App Store have the Nest app available.
There is a required setup that is easy to follow. You will need to log into your Nest account where you’ll be able to see and access all of your Nest-related products. This is where you’ll select your Nest’s name (input during the setup process). If you have multiple units, you will have the option to control all of them through one app.
Simply choose the Nest thermostat you want to adjust, and hit select.
Now, the app will allow you to adjust your Nest from anywhere in the world. It’s important to note that this will only work if you have setup the Wi-Fi connection properly with Nest. If, for some reason, your Internet is not up when you attempt to make the changes, Nest will recognize them once Internet connectivity returns.
For anyone that wants to utilize their Nest’s most powerful features, I recommend setting up Wi-Fi and connecting to your system via the app. This allows for robust configuration options and easier control over your system.