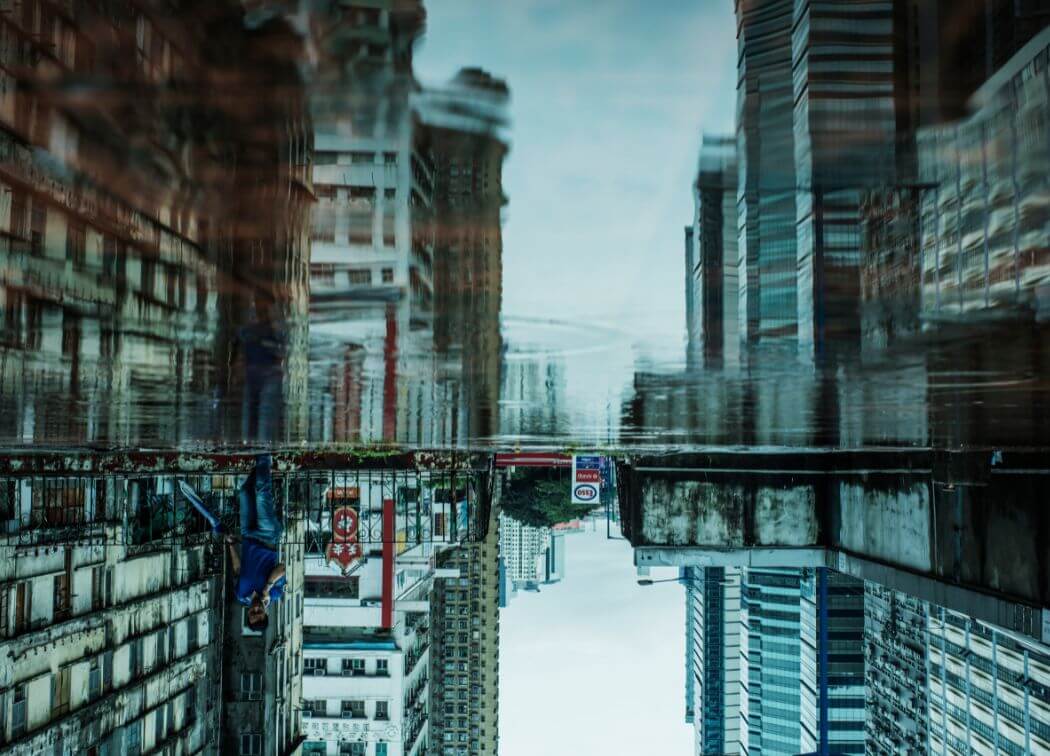
People love water reflection photos, so let’s give you some great water reflection photography techniques you can use to bring home a winner!
Humans are drawn to symmetry. There is an good article on symmetry by David Roos. In the article he makes this statement: “Symmetrical objects and images play by the rules that our brains are programmed to recognize easily”
Hence, we are also drawn to reflections because of the symmetrical nature of the reflected image.
Tips for Mesmerising Reflection Photography
Reflection Photography Locations
You may have heard the phrase “Location, Location, Location” before. When it comes to hunting for reflections to photograph, that phrase is right on the mark.
These bullet points outline what to look for in a location:
- Interesting scenery around and above the water
- Accessible shoreline on the right side(s)
- Easy to travel to, hike into, on publicly accessible land
I’ll address each bullet point in detail.
Interesting scenery around the water
In order for reflection photography to work, you need something interesting to be reflecting in that water. So, choosing a location with great background objects is very important. Trees, Hills, Buildings, Cloudy Sky, Wildlife, Bridges, Watercraft. These are all examples of things that make good reflection objects.
I also like to look for things that are in the water. Docks, Poles, Even tree stumps. Of course, big rocks also make great visual interest for reflection photography. Birds flying or swimming, an Elk or a Moose, maybe even a perched Eagle. All can make for terrific photos.
Accessible Shoreline
You don’t just need to find a body of water. You need to find a body of water that you can get to position yourself appropriately. I have come across many lakes, where the only accessible location was not conducive to reflection photography. Either because of the direction of the sun, or the background scenery, or similar problems.
The other accessibility problem can come in when the place you want to be is on private property. I have very politely and respectfully asked if I could take some photos on private land.
Almost every single time the owner was very accommodating, plus I was able to leave them with a business card (future customer?). The few times I was turned down was when the property was owned by a business or corporation.
By the way, don’t forget rivers. Close to my home there are a few slow-moving rivers that have very flat water. These represent a great opportunity for reflections photography.
Easy to get to
I often do two- and three-day photo trips. Usually those trips are planned around some potential bodies of water. And there are often a lot of other interesting photo opportunities around a lake or big river.
However, if you are thinking of making it just a day trip, then it needs to be within reasonable driving distance. Something within a couple hours drive one way. Spend a couple hours exploring the area and taking lots of photos and then a couple hours’ drive back. For me two hours out is the max, and I often plan a circular route to maximize possible opportunities.
I use Google maps and look for bodies of water first, then I look at the surrounding terrain and objects. This makes planning a photo trip easy. Head to this spot, then onto this spot, exploring along the way. Stop for lunch here.
Go home a different route and stop there. A single day trip could bring several opportunities for reflection photography and a lot of other photo possibilities.
I have gotten many great reflections photos within the city where I live. There are parks and ponds all over town. I’ve even gotten some on golf courses. These usually are very accessible and have great looking trees and bushes all around them.
Weather and lighting are also very important
From a timing perspective, what you want is the right weather and light. Too much wind and the water surface likely won’t be very reflective. Strong sun in the wrong location could be a problem creating unwanted shadows or glare.
Is the sky overcast, or is it clear as a bell? Are there nice puffy white clouds? Hard rain can either ruin a reflection, light or intermittent rain can make it really interesting. Sometimes you need to experiment.
Shooting your reflection photos
Getting the right shot is key to these water reflection photography techniques. The first thing I do when arriving at a potential location is just take a general look around. Check out what’s in the background, the foreground, the lighting, the possible angles, etc.
You are looking for the best framing and angles that highlight the reflections you’re after. You want the sun behind you, the 180 degrees or so that’s generally behind you. Although I have shot good reflections with the Sun slightly in front of me off my left or right shoulder.
Camera Settings
You should shoot in aperture priority mode, with an aperture of between F8 and F11. This helps ensure good depth of focus and many lenses are sharpest in the middle of their aperture range.
I always keep my ISO set to 100 to minimize noise and maximize color saturation. Generally, White Balance should be set to Daylight, unless it is mostly cloudy. If it’s sunny or mostly sunny you can easily get by with having White Balance on auto mode.
If it’s very early or late, and a little dark, the exposure might become a bit too long to hold your camera by hand. In this case you can bump the ISO up a little, like 400. Or you can choose to mount the camera on a tripod.
I also sometimes use exposure bracketing, usually 3 images with 1 stop of exposure compensation between the shots and shooting order of -1, 0 +1, to ensure I have a lot of options to work with.
If you use Photoshop or Affinity Photo, you can also use its exposure blending feature to merge the 3 images into a single balanced photo. This can really help to pop those reflections.
Reflection Photography Gear
I always take a tripod with me, and I use it about half the time. Better to be prepared just in case. I always use a lens hood, even when the sun is behind me or on overcast days. The last thing you want is your awesome shot ruined by glare or bad light balance.
I would also highly suggest a good quality circular polarizer to reduce light glare. One of its main purposes is to reduce reflections so when using a polarizer, be careful it doesn’t kill the reflections. You just want to soften the glare a little while letting the reflection come through. It will also improve color tone and saturation as well.
Make sure you capture the moment
Make sure to take several shots in different locations, zoom settings and compositions. It’s not overkill to take dozens of shots. This way you maximize your chances of getting the one you want. Just pick out the images that captured the scene the way you saw it when you were there and delete the rest.
Also don’t forget about panoramas! If a scene is open, I always take several shots holding my camera vertical and sweeping left to right, and then stitching them together in post-production.
Those panoramas are usually very popular when they come out right! Popular editing software like Photoshop and Affinity Photo have multi-image merge functions for things like Panorama.
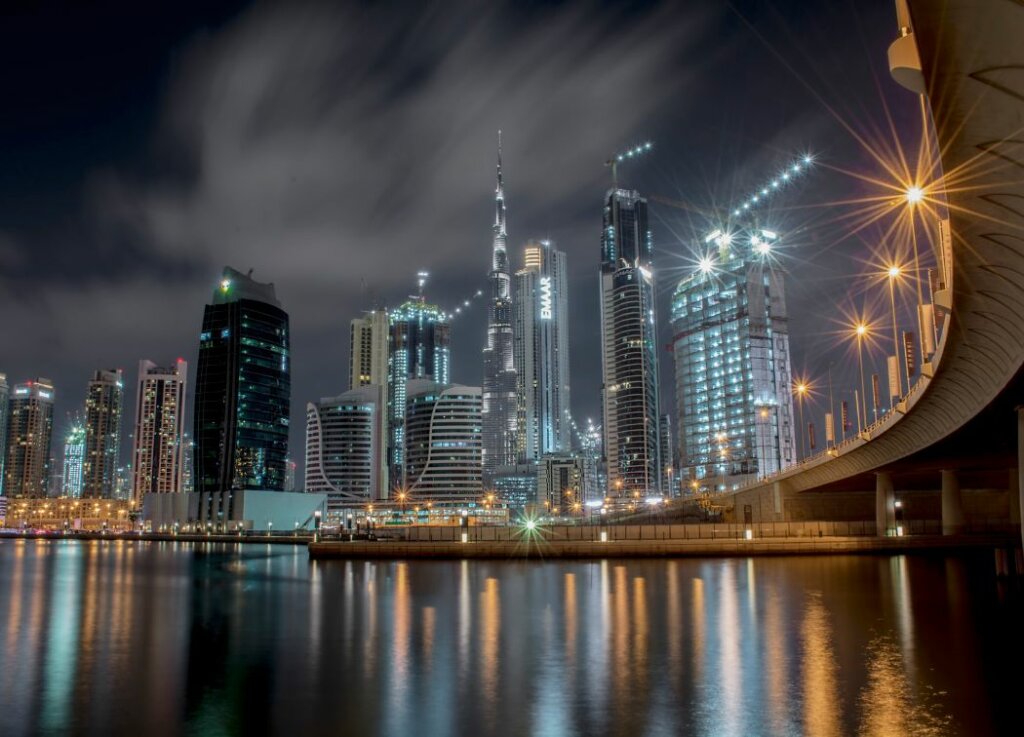
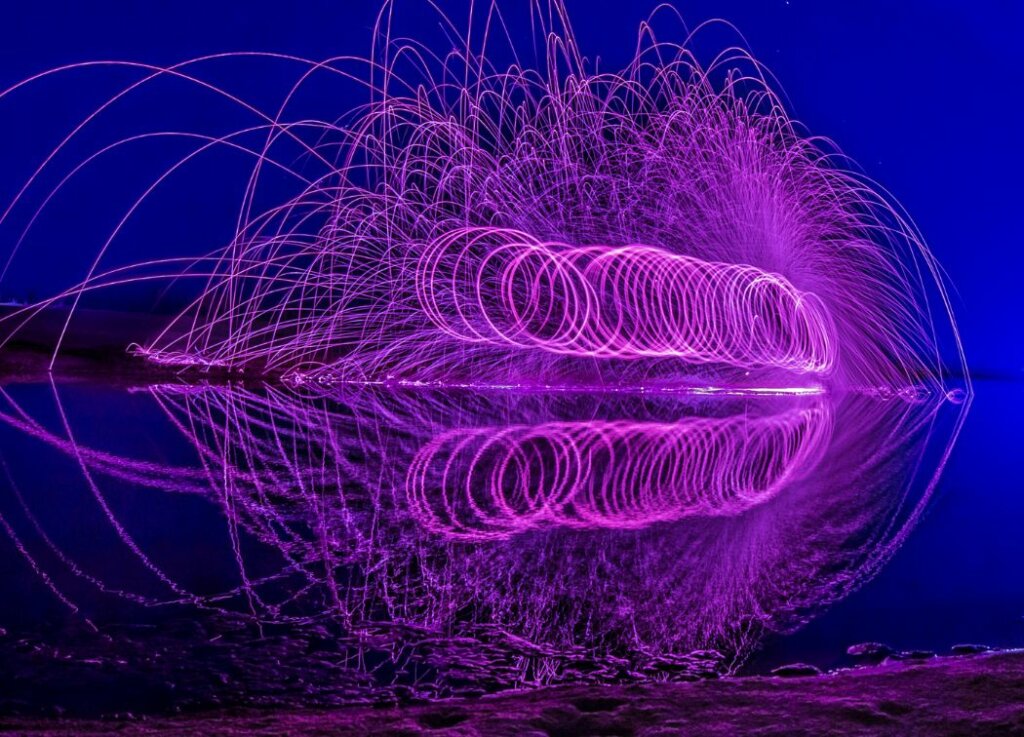
Utilizing these water reflection photography techniques will help you grab those awesome shots like the one below.
Post processing your image
Reflection images can be a bit of a challenge to balance. In order to get good definition in the shadows, on the water and inside foliage, you need a higher exposure. That often leads to blowing out the sky detail and/or the highlights.
This is why I use exposure bracketing. This allows me to choose the image with the best sky detail, and then use editing tools to boost the brightness of the darker areas to match.
Don’t over-do it
Be careful with too much sharpening and saturation, as they can quickly ruin the balance of the primary as well as the reflected details.
I have been known to sharpen a separate layer and mask in areas I want sharpened more rather than over sharpen the entire image. Same thing with saturation. If you want a certain color detail to pop, saturate a separate layer and mask it in.
The best tip I can give for editing reflection images is to do very light dodging in the shadow areas on the water surface to bring out the reflected image details
Conclusion
Well that’s it for now.
Let’s get out there and use these water reflection photography techniques to shoot some reflections! Happy hunting and bring home a winner…
– Jason