Given that this post is intended to cover how to use a DSLR camera for beginners, it will cover a lot of basics. I am going to start at the very beginning. This will be a detailed guide starting at square one and moving toward comfortably taking photos.
At that point, you can reduce your focus on the mechanics of the camera. Then you can begin focusing on the most important part of photography, learning good composition.
You may feel like you are already familiar with some of the info in the following paragraphs. I encourage you to take a quick look at each in case there is something in there you can use. Bookmark this post and come back to it as needed.
Once you’ve gone through this post, you should be ready to start learning some more complex photography skills. For now, let’s get started on this guide: how to use a DSLR camera for beginners!
How to Use a DSLR Camera?
1. The primary camera components
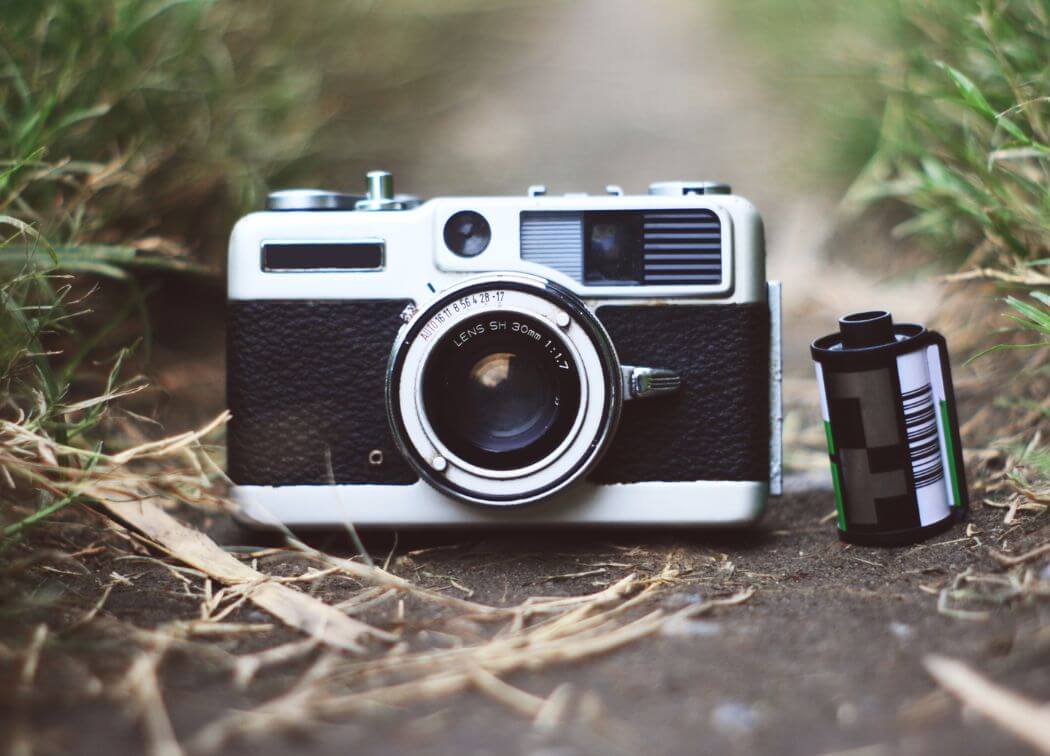
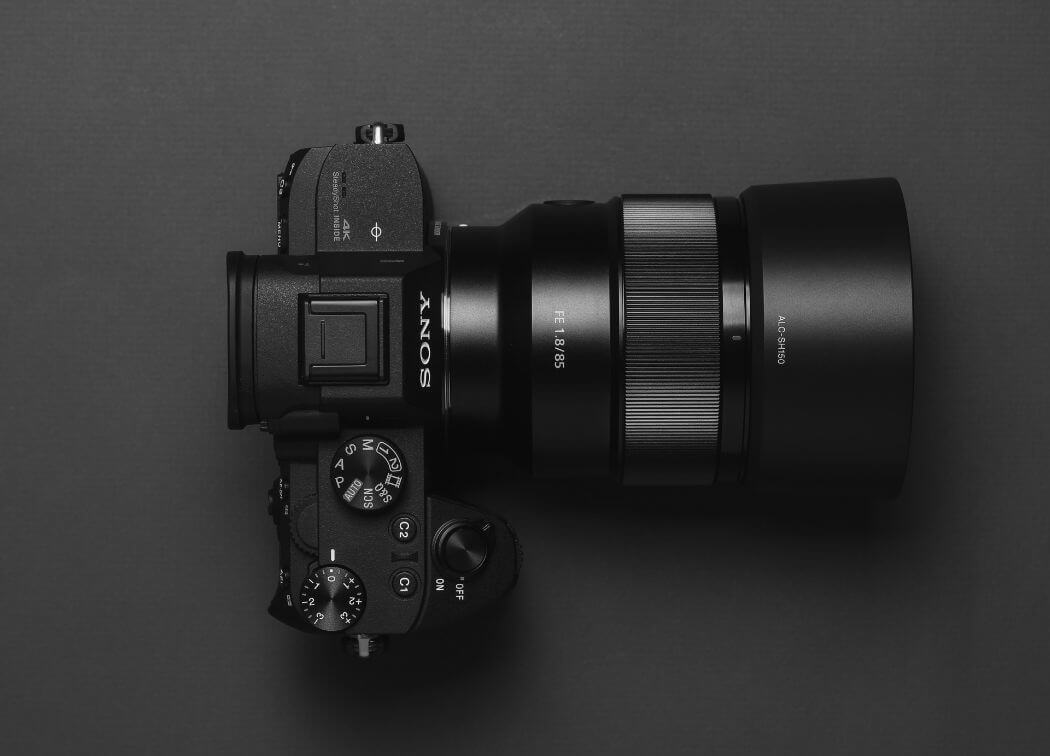
Most Digital Single Lens Reflex (DSLR) cameras have a detachable lens. This is one of the most notable features of the DSLR camera. Therefore, the primary components of your camera are going to be the camera body, and a lens.
While you can easily buy just a camera body, most cameras are sold as a “kit” with an included lens. With cameras in the less than $1000.00 range, this lens tends to be an 18mm-55mm zoom lens. Or some close proximate of that specification.
Both the camera and the lens will have a colored dot/square on them. Typically white sometimes red. To mount the lens to the camera, remove the back cap and line up the dots, insert the lens and gently twist clockwise until it clicks.
Leave the cap on the other end until you are going to take a photo. After the photo session, place the lens cap back on until the next photo session.
2. Secondary camera components
The other components that make up a complete camera kit is a memory card and a battery. Most camera kits include one battery and a charger. The memory card, you need to purchase separately. Reasonably fast 64 GB memory cards can be had for about $20 bucks these days.
Most camera kits also come with a cable used to transfer images to a computer. In addition, some cameras also have WIFI/Bluetooth you can use in lieu of the cable.
3. Basic accessories you need from the beginning
The first most important accessory you are going to need ASAP is a camera bag of some sort. Your camera spends all of its free time in a bag. It’s what protects the camera, allows you to carry it with you and keeps other accessories close at hand.
The other thing I would advise you to get is a spare battery. The spare is there to give you some extra capacity for sure. More importantly the spare is there in case the primary battery stops working, either through discharge or mechanical failure.
There is nothing as disappointing to a photographer than to miss an opportunity for an awesome photo!
Right now, while we are on the subject, put your camera battery on to charge. In fact, any time you start thinking “maybe I’ll go take some photos”. Get your battery on the charger. It may not need much but topping off is better than running out.
A super important part of learning how to use a DSLR camera is learning the controls. Aside from the on/off switch, here are the main buttons and controls you need to memorize.
Knowing these without thinking about them will help free your thoughts to focus on photo composition. In the follow images, I am using the Canon T7 camera, but the buttons and controls will be similar on any camera make/model.
The Shutter Release Button
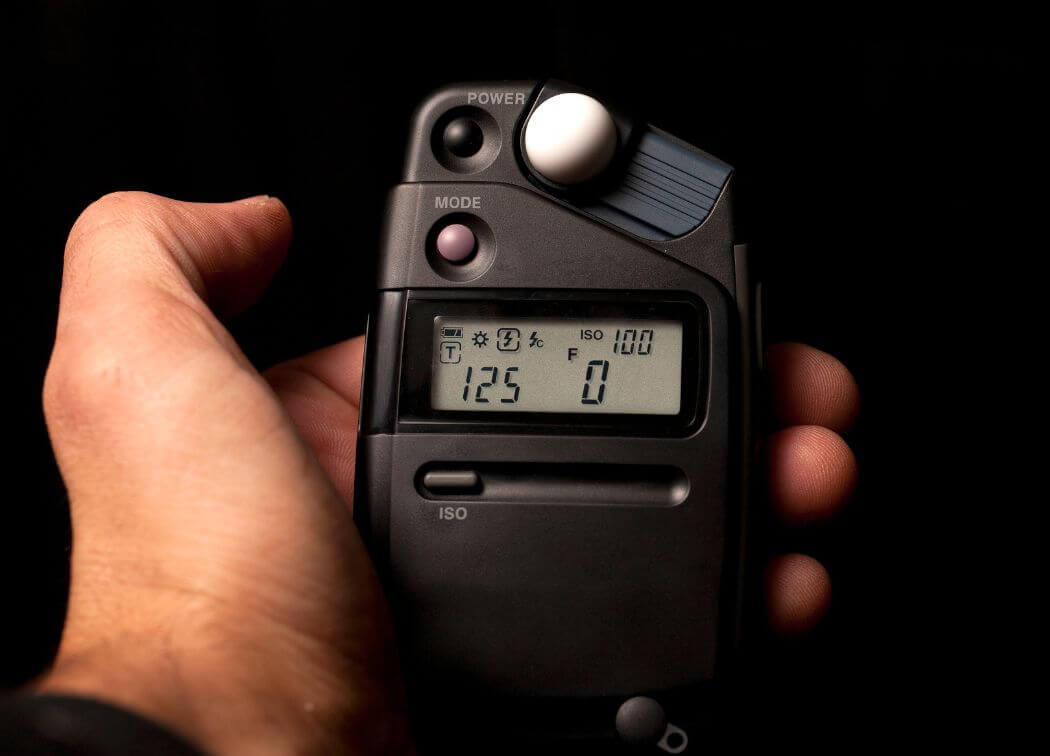
The most used button on your camera. This is a two-stage button. Pressed halfway down will engage both autofocus and light metering (detecting the amount of light in the scene). When pressed further down, it releases the shutter to take the photo.
The Main Dial
This dial is usually directly behind the shutter button. This is used to adjust settings values up or down. Left is down, right is up. Whatever setting is the current priority is the setting whose value is controlled by the main dial. This is likely the second most used control on the camera.
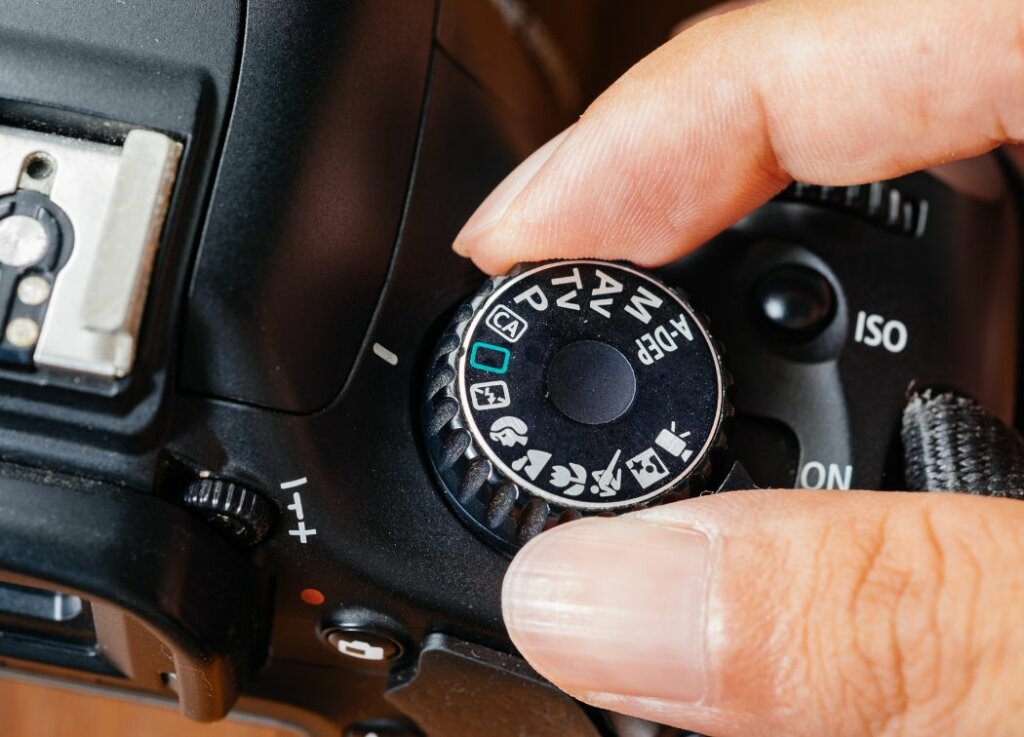
The Shooting Mode Dial
This dial is usually on the top of the camera body and indicates the current shooting mode. Most common modes are Auto, Aperture (Av), Shutter value (Tv), full Manual (M). For the purposes of this post put this on Auto.
The Menu Button
Used to get into the electronic menus for making internal camera options and operation settings. For example, setting the image quality or ISO value. There are too many things to list here, just memorize where this button is.
The Playback Button
For taking a quick look at photos you’ve taken. This can help you decide if you want to take more alternate shots, or spot problems, like focus blur, etc.
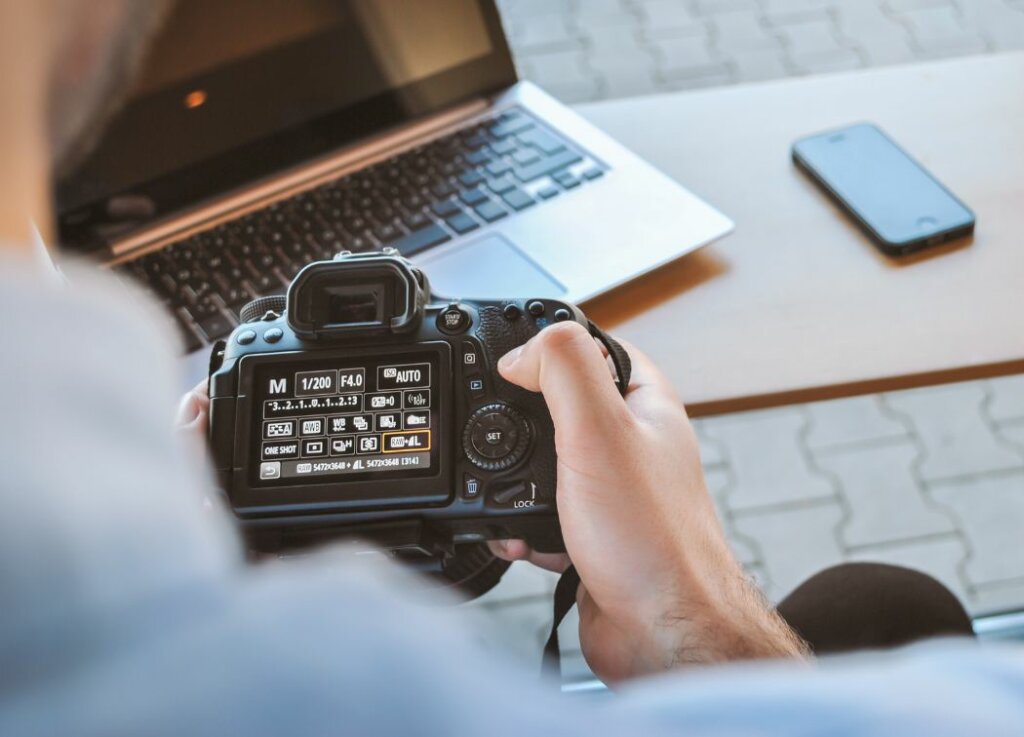
The Quick Menu Button
The quick menu gives you handy access to primary photo settings right on the back screen without needing to go into the menu system. More detail on that in the next section.
- Shooting Mode
- Shutter Speed
- White Balance Setting
- Battery
- Number of images remaining
- Image Quality Setting
- ISO Setting
- Aperture Setting
5. Settings
When you are first learning how to use a DSLR camera, you want the camera to provide you the highest chance of success.
That means using a lot of automatic control settings to free you up to concentrate on composition. So here is a list of the primary getting started settings you need:
- Set Shooting Mode to Auto
Press the “Q” button. You should be able to move the highlighted setting around using the arrows and the “Set” button to change the value.
- Set White Balance to AWB (Auto White Balance)
- Set ISO to Auto
You may need to go into the menus too make the following settings. Depending on your camera.
- Set Image Quality – High or L or Large. (do not use RAW)
- Set Grid Display – On
There are far too many variables to show you images of the menu system. Scroll through the menus and look for the settings above. Set the image quality to High or L, and set the grid to ON.
There will be plenty of time to learn how to change to other settings to achieve various photo effects. For now, just leave it in these settings while you are getting used to you camera and learning basic composition.
6. Do not use RAW
For image quality setting, unless you are already familiar with image editing do not shoot photos in RAW image quality. Using this mode requires that you edit and tweak the images to make them acceptably viewable.
While learning your camera, its functions, and basic photography this is an unnecessary distraction. You can move into that later once you have decent control over your camera.
7. Time to take some photos
When learning how to use a DSLR camera, any subject will do. Keep it simple.
As you are shooting, stand about 20 feet from your subject. Hold the camera viewfinder up to your eye and look at the subject. Use the grid lines in the view finder to align the image and make it level.
Zoom in or out until the image in the viewfinder is pleasing, then press the shutter button. While you are taking the photos, you can use the playback button to look at them on the back screen.
Conclusion
Once you’ve got the hang of operating the camera and taking photos is easy and come naturally, take the next step.
I hope this post on how to use a DSLR camera helps you get started and experiencing some success. Are you excited to get out there and taking photos with your new camera? Alright, go take some photos!