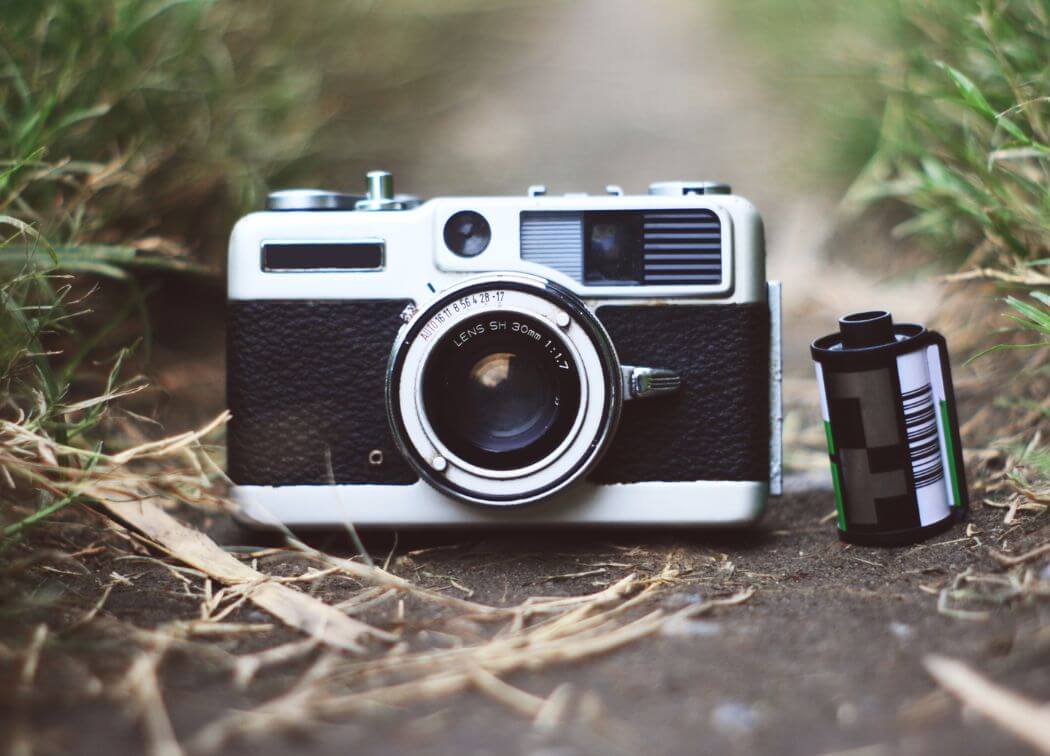
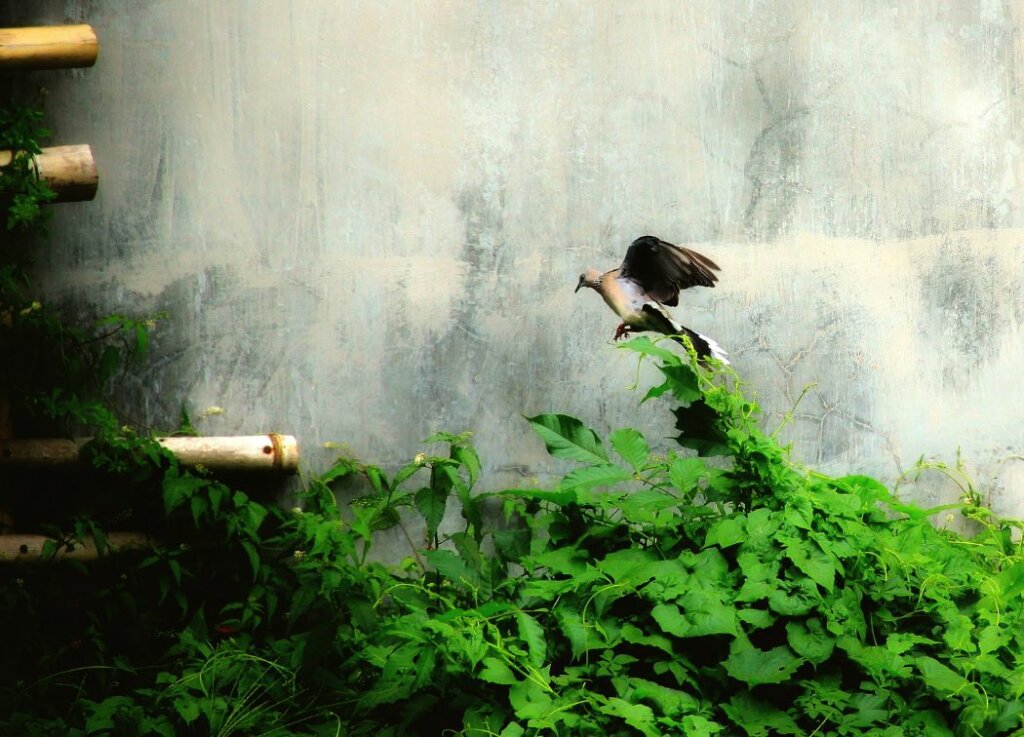
When it comes to getting great photos of birds, your goal is to get a sharp image, in a great pose, with a good location.
While the location is a matter of accessibility and personal taste, this post is all about achieving the first two parts of the goal. In this post, I present the 5 best bird photography settings for beginners. Also included are a few other tips to maximize your potential for success.
Settings and Fine Tuning for Bird Photography
Setting 1: Use a fast shutter speed
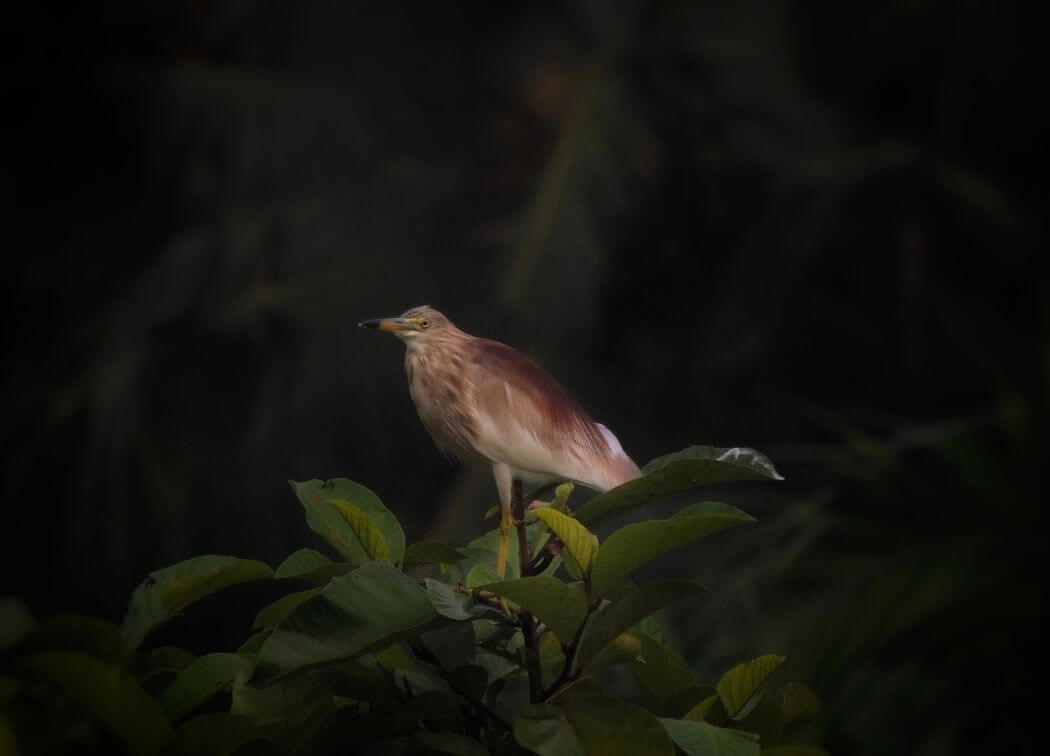
Birds are nervous fidgety creatures. They are constantly looking around, moving, jumping from limb to limb, etc. Add to that they are usually found in trees or on other physical objects that sway in the breeze. This means a huge part of the challenge is freezing the action. Grabbing the shot before the next movement.
One of the best bird photography settings is a really fast shutter speed. For perched birds I recommend a shutter speed of 1/1000. For birds in flight, bump that up to 1/2000. I use the Tv mode on my camera.
Tv equals Time Value (this is usually referred to as Shutter Priority mode). Meaning you control the shutter speed, and the camera controls the aperture value and preferably the ISO value.
If you are having a hard time getting a good exposure, you can slow the shutter value down a bit, but as you do the likelihood of introducing tiny amounts of motion blur will increase. And that can reduce the sharpness of the image. A better answer is given in tip 2 below.
Setting 2: Use auto ISO with a high max limit
With the camera now set to a shutter speed of 1/1000, the sensor will need all the flexibility it can get. Putting the ISO on auto will allow the camera to respond to the prevailing light conditions.
Depending on your camera, you may also need to adjust the max limits on the auto ISO. As an example, in a Canon T8i camera this adjustment is called “Max for Auto” and is in the ISO speed settings sub-menu.
The default for this is 6400 which is far too low for this application. I suggest you put this on the highest value available to give the camera maximum flexibility. High ISO values can introduce sensor noise.
However, the amount of noise is directly proportional to the amount of time this shutter is open. So, for very fast shutter speeds, a higher ISO shouldn’t product much sensor noise.
When doing bird photography in trees and bushes, there are a lot of leaves and limbs all around the bird. This can be very confusing for the autofocus system if you are using a large focus pattern.
To prevent that you need to use the smallest autofocus point your camera can do. This allows to put the autofocus point right on the bird. Preferably bird’s eye and the AF system should lock onto that point.
You really should set up your camera for back button focus. This moves the trigger for auto focus from the shutter button to a separate button on the back of the camera. Moving the function to a separate button allows for greater control over focus. It also allows you to hold the button down and have the focus system track the bird as it moves.
Setting 4: Use burst mode for multiple images
As an example, the camera mentioned above, the Canon T8i has burst mode of 7 frames per second. This will allow you to hold the shutter button down and take several shots in a row. Very helpful as the bird moves about to, for you to try to grab a good pose.
Likely you are going to keep one, maybe two out of all the shots you take, but you will have several to choose from. Just delete the rest and move on.
The total amount of shots you can take at once depends completely on the speed of your memory card. I suggest you get the fastest card SD card your camera will take.
One good choice is the SanDisk 64GB Extreme PRO SDXC UHS-I Card
Setting 5: Image quality mode
If you do not already have good experience with image editing using tools, I would avoid using RAW for your image quality. They are going to require experienced editing just to make them acceptable. Photoshop, Lightroom, Affinity Photo, etc. are great tools but require a fair amount learning to use them.
I would suggest just shooting in high quality JPG mode. This is shown in the illustration below.
One image edit you might need to make is a little cropping to zoom in on the bird a bit more. This depends on how much you are able to zoom in during shooting.
Tips for Photographing Birds
Bonus tip 1: capturing flight
Focal Length Matters. If you are looking to get a somewhat tight shot of wild birds, you are going to need good zoom capability. Otherwise, your bird is going to be a small object in a large photograph. Or you are going to need to crop a lot of the extra stuff away. When you crop to 25% or less of the total image, what’s left is going to have reduced detail and definition.
Likely that means you are going to be looking for a lens that’s capable of reaching out to where the birds are. In my opinion the minimum focal length required is 300mm. More is better. And of course, more length can mean more money. But it doesn’t have to.
Below are 3 different low cost 300mm options. These are for the 3 most popular brands of DSLR cameras out there; Canon, Nikon and Sony.
You may also be able to grab something used at KEH Camera. I have purchased used lenses from them before and was not disappointed in the condition, quality or price.
Bonus tip 2: tripod vs. mono pod vs. handheld
If the location you are in is reasonably well lit, then you shouldn’t have any trouble with hand holding your camera. Also, this assumes your lens is fairly lightweight. However, if your lens is fairly heavy or if there is less light, hand holding can become problematic.
When there is less light, even with optimal bird photography settings dialed in, your camera may want you to keep the shutter open a lot longer to get a good exposure. With a longer shutter setting, camera shake might cause blurring in the photo if you are hand holding.
One way to remedy camera shake is by using tripod to hold the camera/lens unit. Useful if you are remaining relatively stationary and waiting for the birds to come to you. If you need to move about, using a tripod can come at the expense of reduced agility.
A compromise is a monopod. A single pole with your camera/lens unit attached to the top. Easy to pick up and move. The single point on the ground makes swiveling about to follow birds more agile while providing stability. Here are a three example monopods to look at:
Bonus tip 3: patience is a virtue
Once you get your bird photography settings squared away, the next thing your going to need is a good location where you can find birds. And your also going to need some patience.
Seems like this should be obvious however, I am going to talk about it anyway. If you want to get an amazing shot with a wild bird in a perfect pose, it’s going to take some patience. You will to take dozens of photos that will be completely useless. That is to be expected, just delete them.
You may have to wait for several minutes for birds to come back after you scare them off. That’s assuming they come back at all. But if you pick your spot right, they’ll be back. You just have to be still, be patient and be ready to shoot as soon as they appear.
Summary
Bird photography can be very rewarding. The feeling of getting that awesome shot is quite exhilarating and makes it all worth it.
Just takes some practice, some patience, a good location and maybe a special piece of great. But now you have all the best bird photography settings info you need to get make it happen. Hope you get some good ones.