We feel that Oloneo HDRengine is a mixed affair. On the one hand, it has an excellent automated HDR process that is extremely easy to understand and use. Once you understand how the program works, you can quickly create HDR composites. Furthermore, the quality is fantastic.
On the other hand, however, Oloneo HDRengine has basic post-processing tools. Aside from changing the saturation, tones, and contrast, you can’t do anything else. For example, there isn’t even a crop tool. This program is purely for creating the initial HDR composite file – nothing else.
To produce a beautiful, edited HDR photo, you would then need to export the file into other software and then transform and process fully. As an HDR processing program it’s fantastic, but that is the limit of its functionality.
Oloneo HDRengine Overview
Oloneo is a French company that creates a myriad of software including post-processing suites. Founded in 2006, one of their flagship products is Oloneo HDRengine. We have created an Oloneo HDRengine review so that you can see what this program has to offer.
Oloneo HDRengine is primarily an automated HDR processing software – it has minimal post-processing options. You can create excellent quality HDR composites, but we would advise using this program in conjunction with an editing program like Adobe Lightroom or Luminar 4.
If you want to find out more information about this program, check out the Oloneo HDRengine resource page. This contains useful tests and tutorials. Moreover, it contains a link to the forum.
In this Oloneo HDRengine review, we tested the program using our own photos, and sample photos provided with the software. We looked at the basic system requirements, layout, ease of use, and HDR process.
System requirements & basic features
For the first part of this Oloneo HDRengine review, we looked at the specs and features. This program does not require a powerful computer. The HDR process is advanced, but it does not utilize much processing power. As you can see from the system requirements below, virtually any modern computer can run Oloneo HDRengine:
System requirements
Windows – Windows XP or later
- Screen Resolution – 1280 x 720
- Memory – 1.5GB of RAM
- CPU – 1.6 GHz Intel or AMD with SSE2, dual-core
- HDD – 200MB of free storage
Currently, this program is only available for Windows devices – there is no MAC or Linux version.
Basic Features
- Supported file formats – JPEG, TIFF
- Automatic ghost removal
- Automated HDR merging
- Automatic image alignment
- Tone mapping
- Basic retouching options
- Preset image effects
The basic features are just that – basic. This is by no means an in-depth program like other HDR software such as AuroraHDR. It has enough features to create quality HDR composites, but that’s essentially its limit.
Pros
- Creates high-quality HDR images
- Simple interface
- Quick HDR process
Cons
- Initial software operation can be confusing
- Virtually no post-processing tools
Layout
The layout of Oloneo HDRengine is basic. It has an un-cluttered interface with just two main panels:
- Browse
- Edit
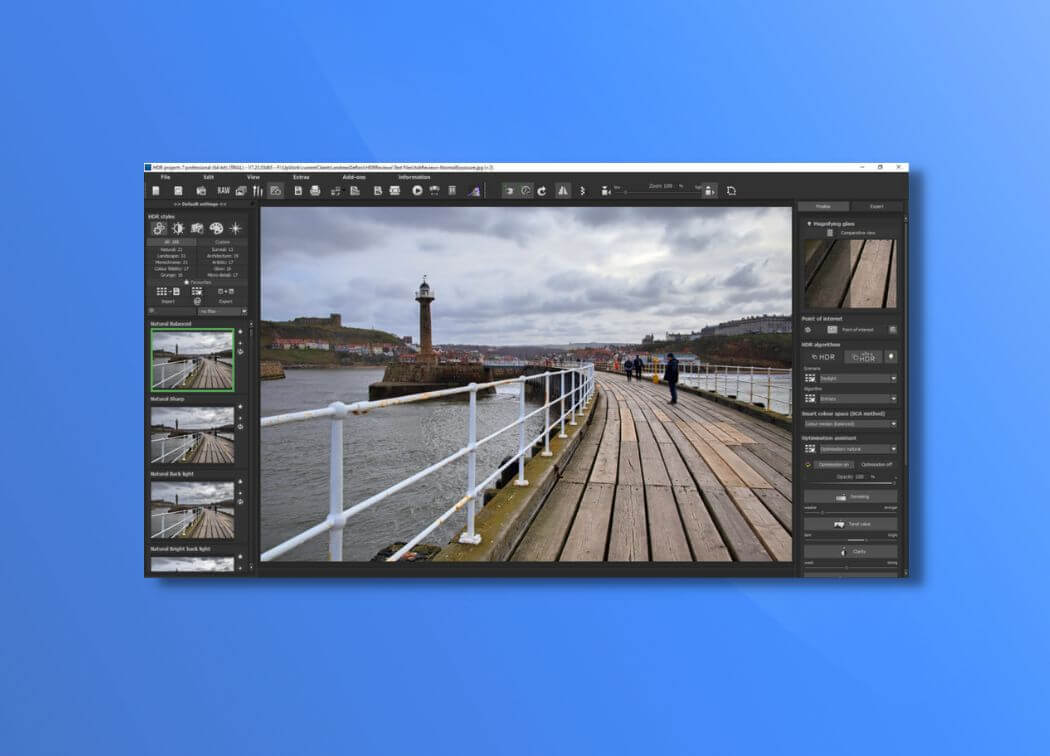
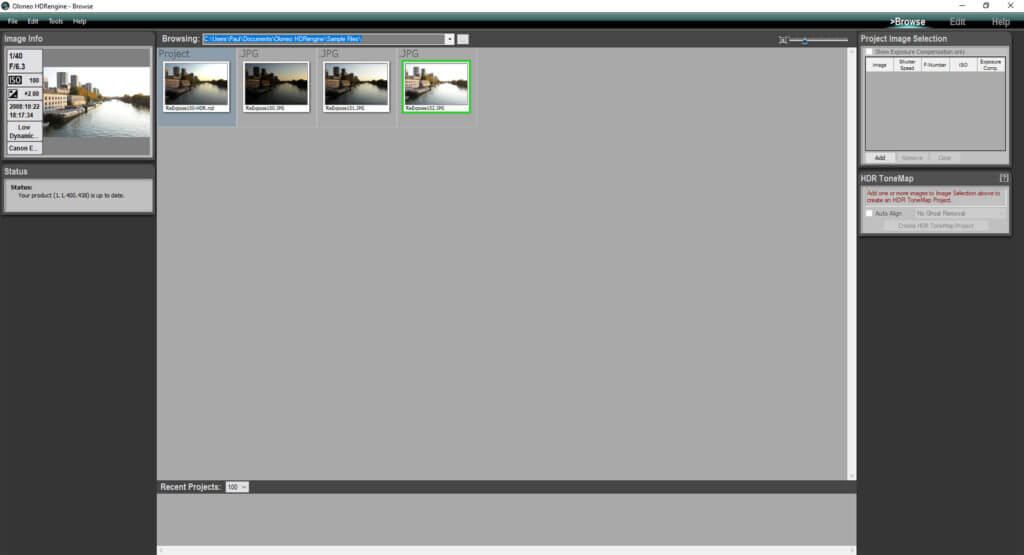
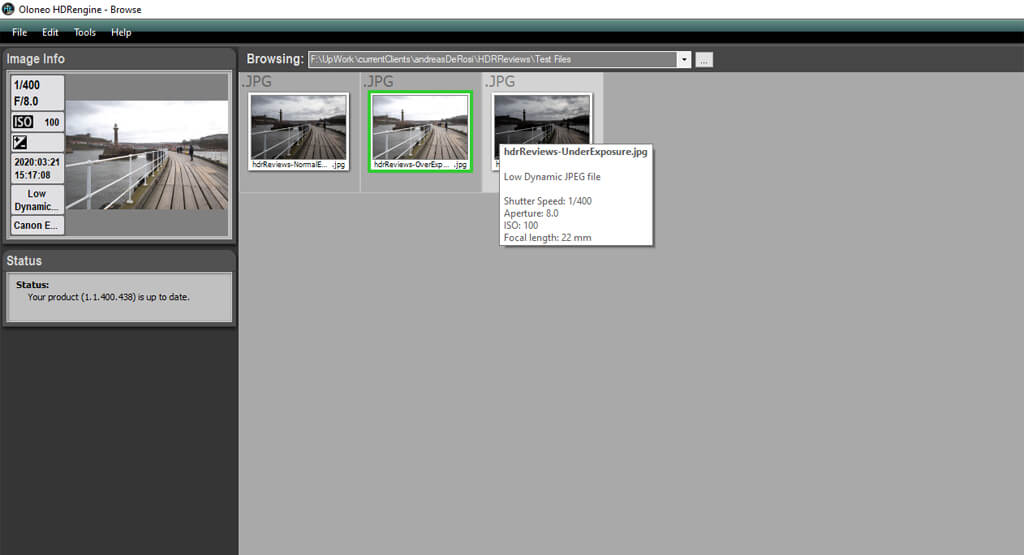
The browse tab is where you select and add files to the HDR merging process. It has a simple layout. On the left is a preview box of the selected image that shows its camera settings. In the middle, the image thumbnails are shown. On the right, the HDR processing dialogue box is found.
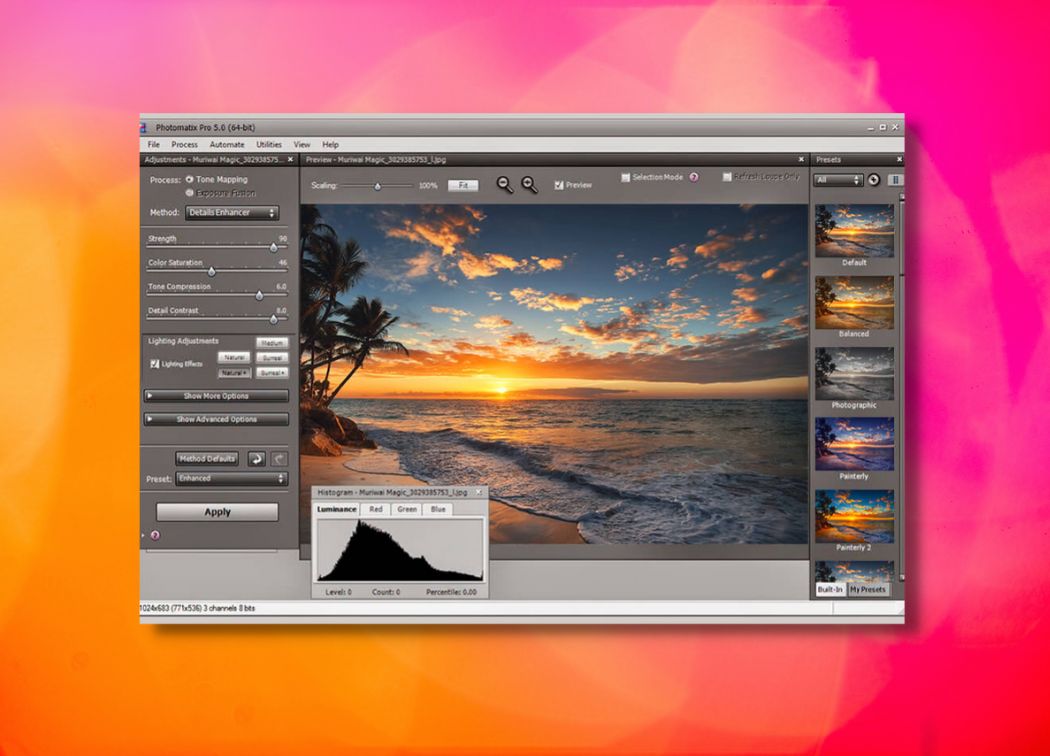
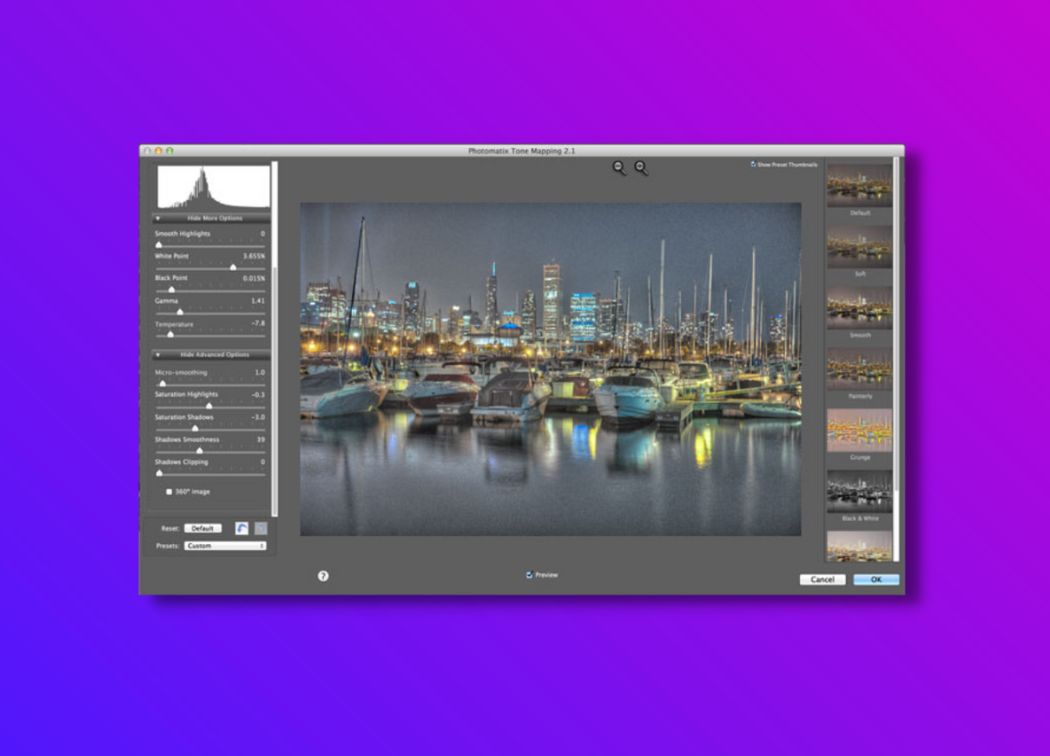
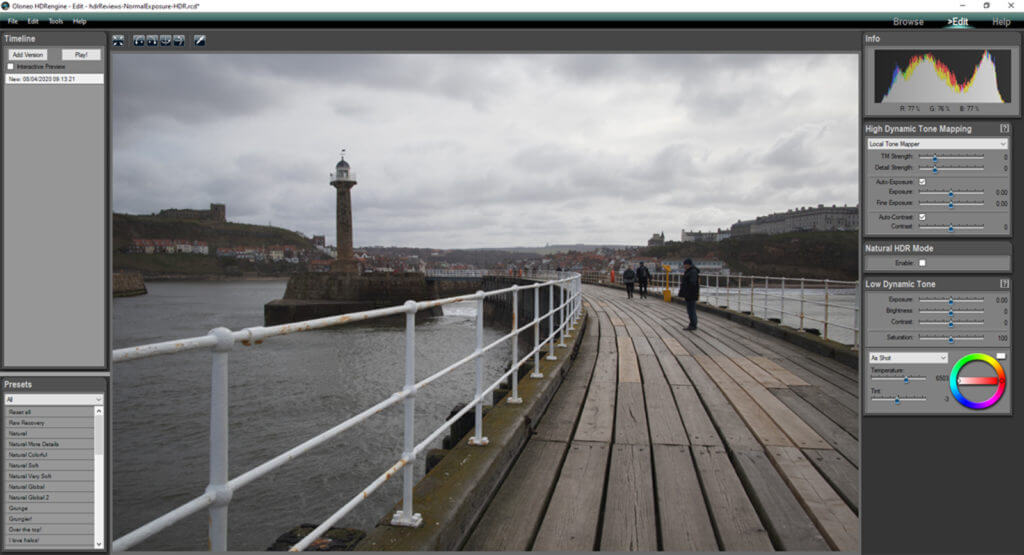
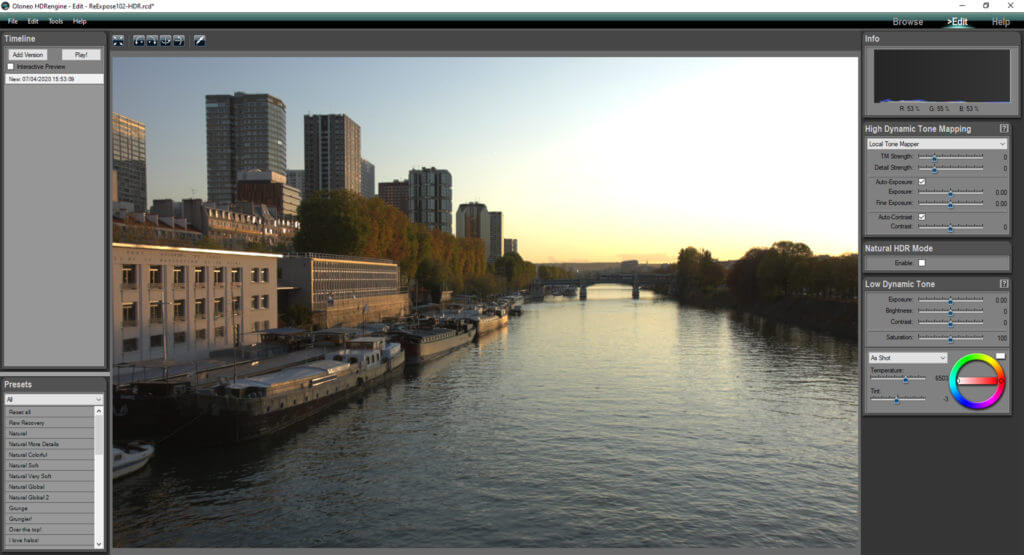
The edit tab is where you view and manipulate the processed HDR image. Again, this has a simple layout. The main image is previewed in the central panel. To the left, you can view the version history, and look at the presets. To the right, tone mapping and editing options are displayed.
The layout is user-friendly, but the design and style of the program are quite basic. It doesn’t really look like a modern piece of software. Does this matter? Not really, because the functionality is fantastic.
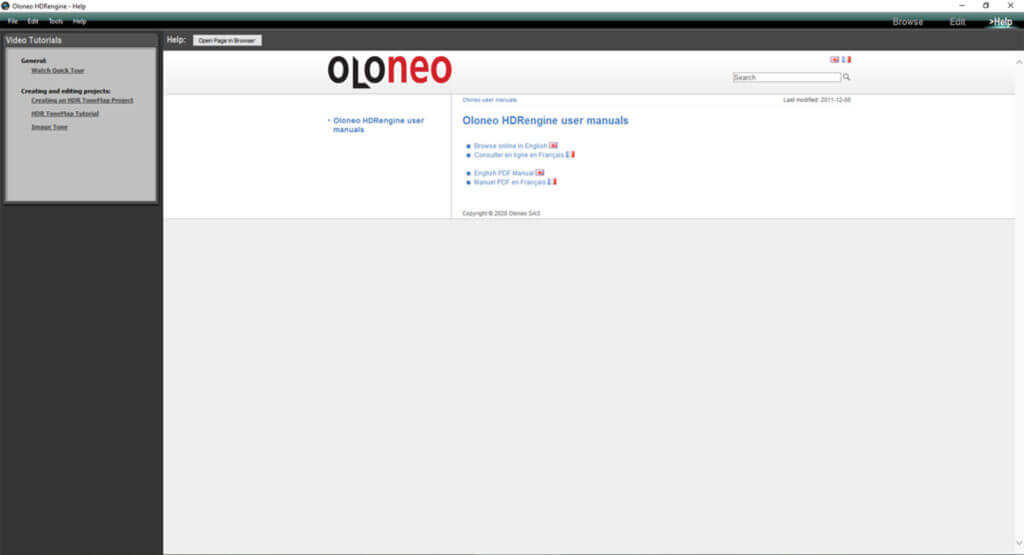
Other than these two tabs, there isn’t much more to the program. The help tab essentially displayed different user manuals, and links to tutorials and FAQs on the Oloneo website itself:
Ease of Use
When using this program, it is not at first apparent how to use it. We found this slightly off-putting. Those who have experience using computer software will get to grips with it quickly – for example, they will understand how to load the file dialogue box.
We feel that the HDR process button should be more visible – it is not clear at a first glance. It can be found in the “HDR ToneMap” box on the right-hand side of the browse panel.
Aside from this minor inconvenience, the rest of the program is easy to use. Once you understand the basic process, you can create HDR images in a few minutes. Furthermore, the editing tab is straightforward. Everything is changed using either sliders or check-boxes.
The minimalistic interface certainly lends itself to beginners. Furthermore, the fact that there is only a handful of tools means you won’t get confused or overwhelmed.
HDR Process
On opening the program, it wasn’t at first immediately apparent how to create an HDR composite. We had to check out the help video which wasn’t encouraging. It is our opinion that the basic process should be immediately obvious when loading the software.
That being said, after watching the short tutorial video, we understood how to create an HDR image. Moreover, looking back, if we had looked a little closer, it is fairly obvious. The basic HDR merging process includes the following steps:
1. Use the central browsing pane to load bracketed shots
2. Select each file you wish to include by ctrl-clicking each one
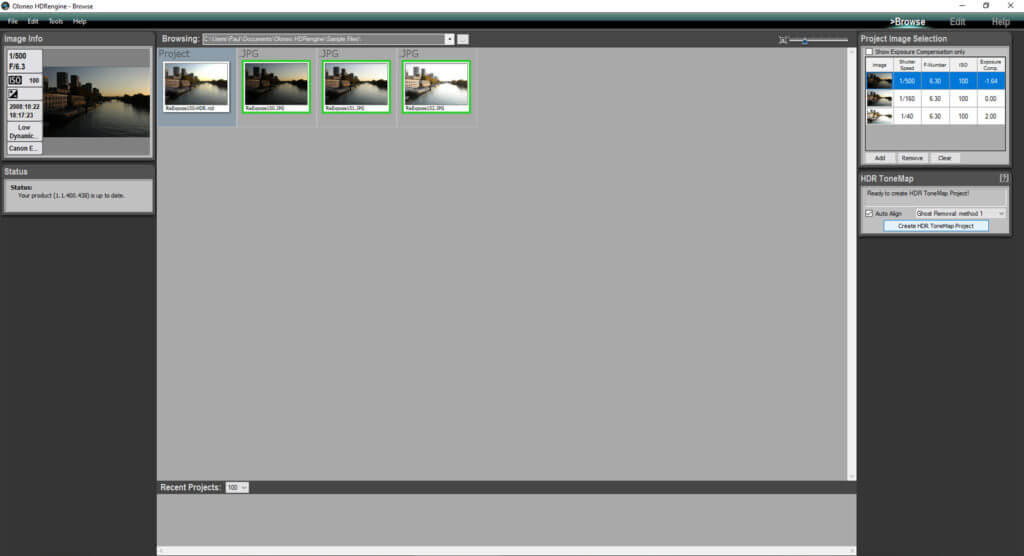
3. Select any options from the right-hand “project image selection” toolbar
4. Click the “Create HDR ToneMap Project” button
Once you have done this, the bracketed images are converted into an HDR file. The program then switches to the edit pane. Using the edit pane you can correct the tone mapping and select presets if you wish.
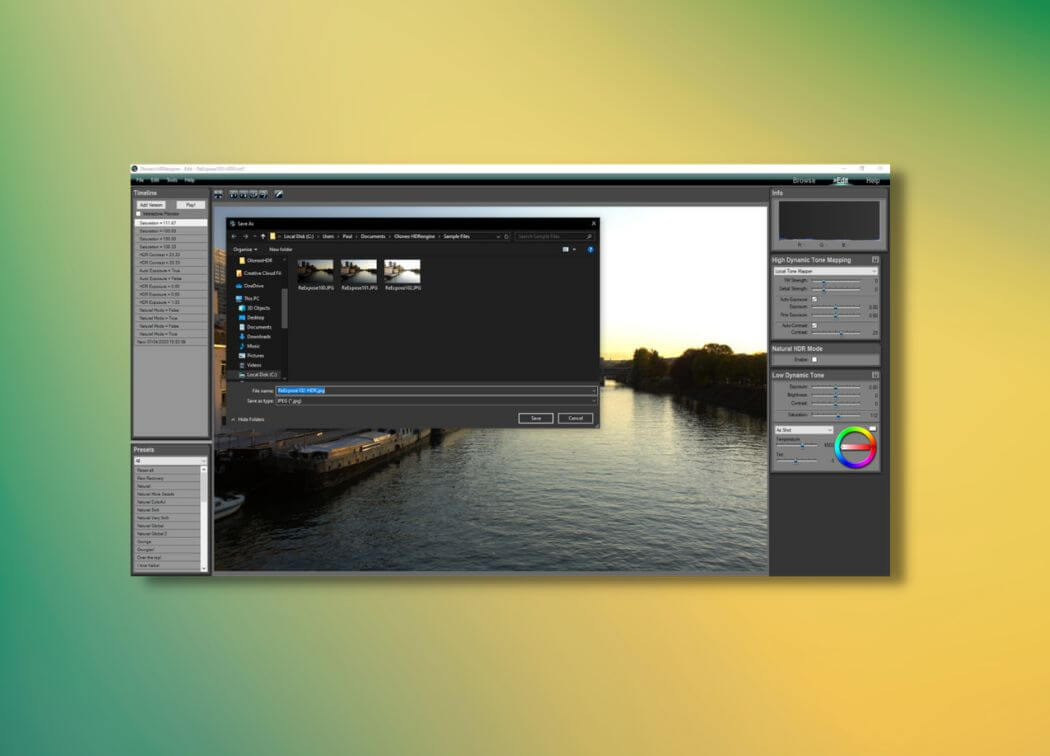
When completed, you can export the composed file directly into Photoshop. This opens the file as a merged document into Photoshop allowing for further editing.
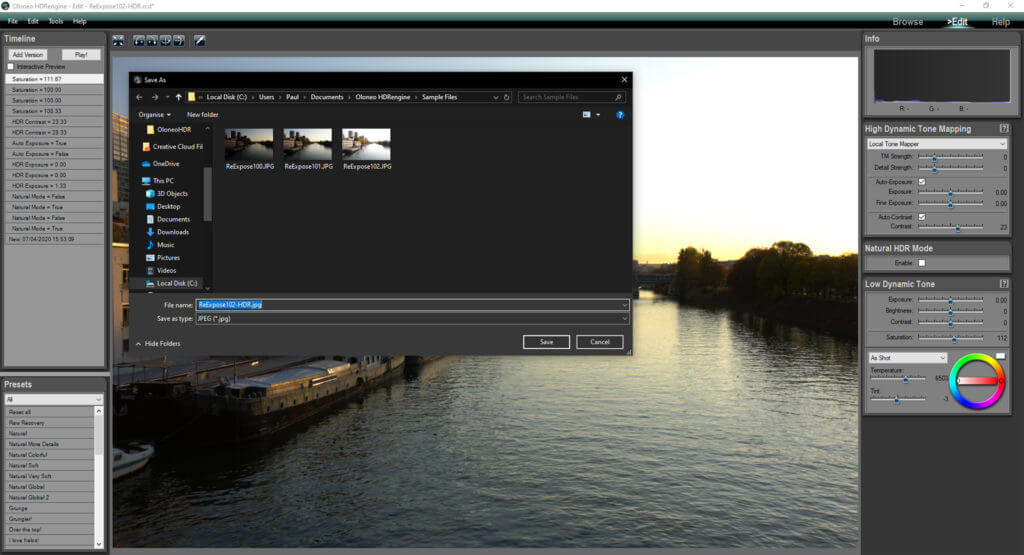
Alternatively, you can use the export dialogue box to save the file as either a JPEG or TIFF image file. The dialogue box allows you to change the image quality, alter the filename, and add artist information too.
HDR Quality
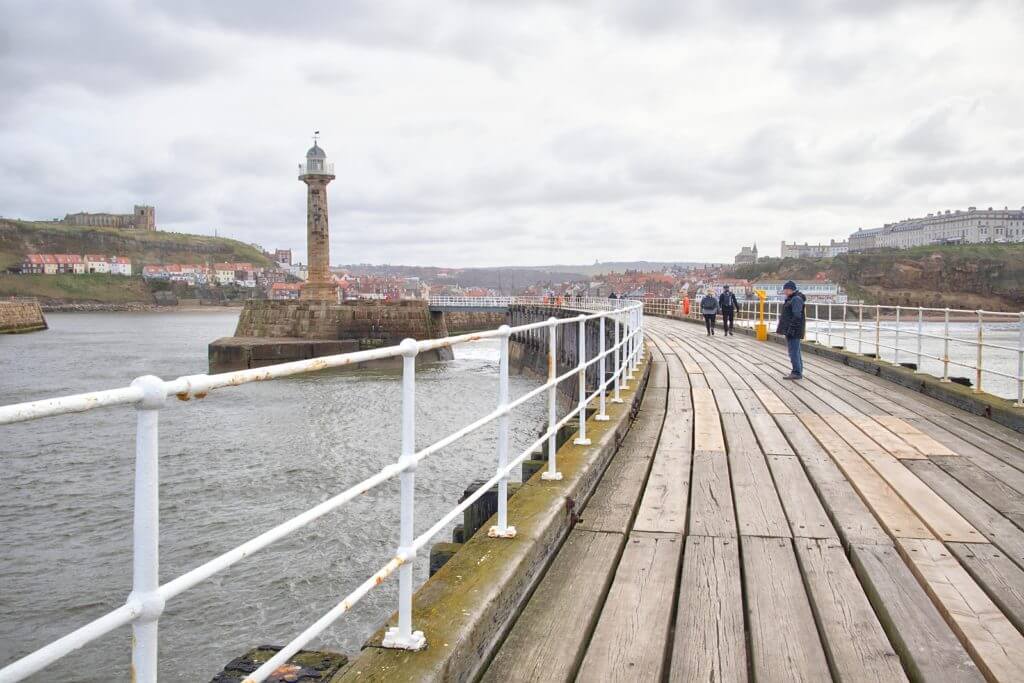
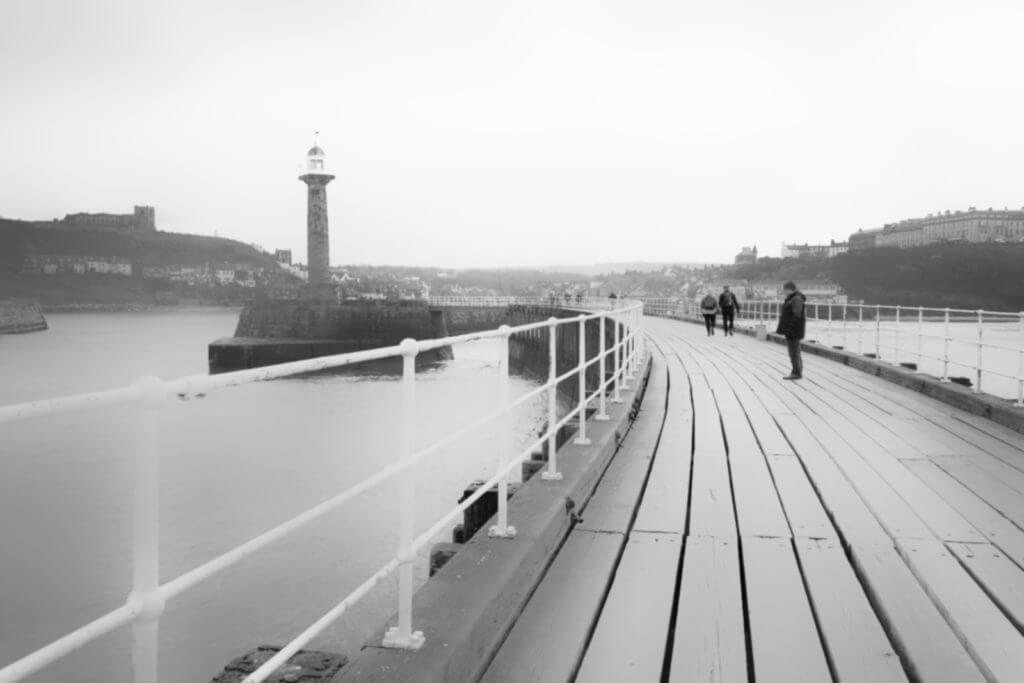
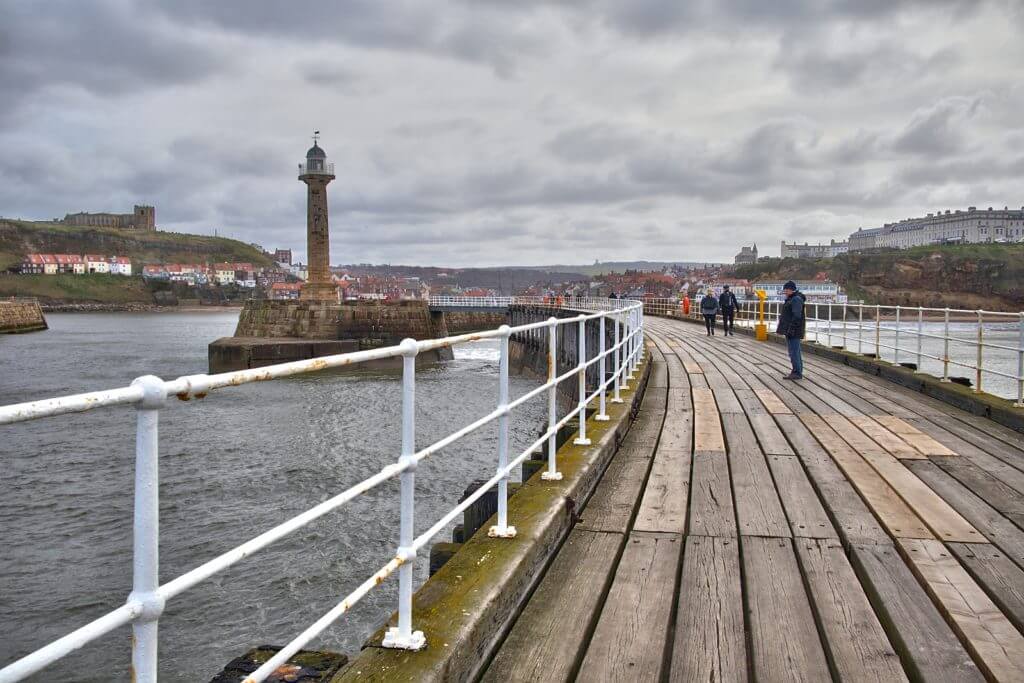
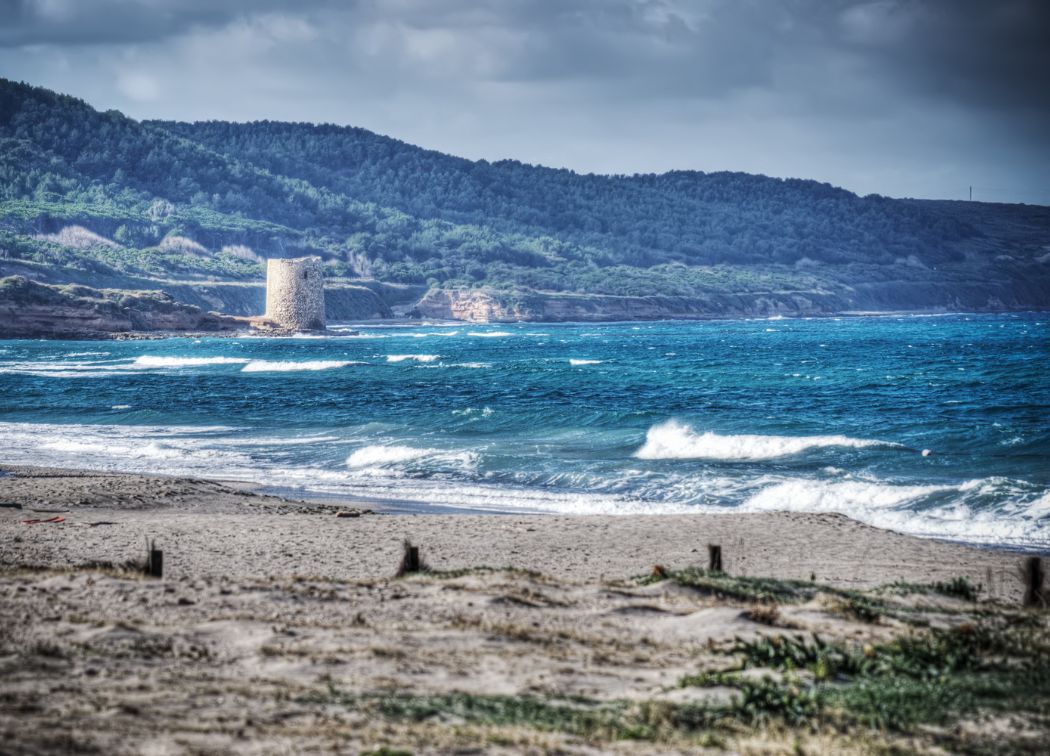
To validate this Oloneo HDRengine review, we looked at the quality of the final HDR images. It is clear that the underlying technology is powerful – the resulting HDR images look superb. The images are aligned properly, and the detailed retained is fantastic.
Furthermore, the HDR effect is not overpowering. Some HDR tools create compositions that have an abundance of contrast which makes the image look contrived. This is not the case with Oloneo HDRengine. The merged image is subtle and accurate.
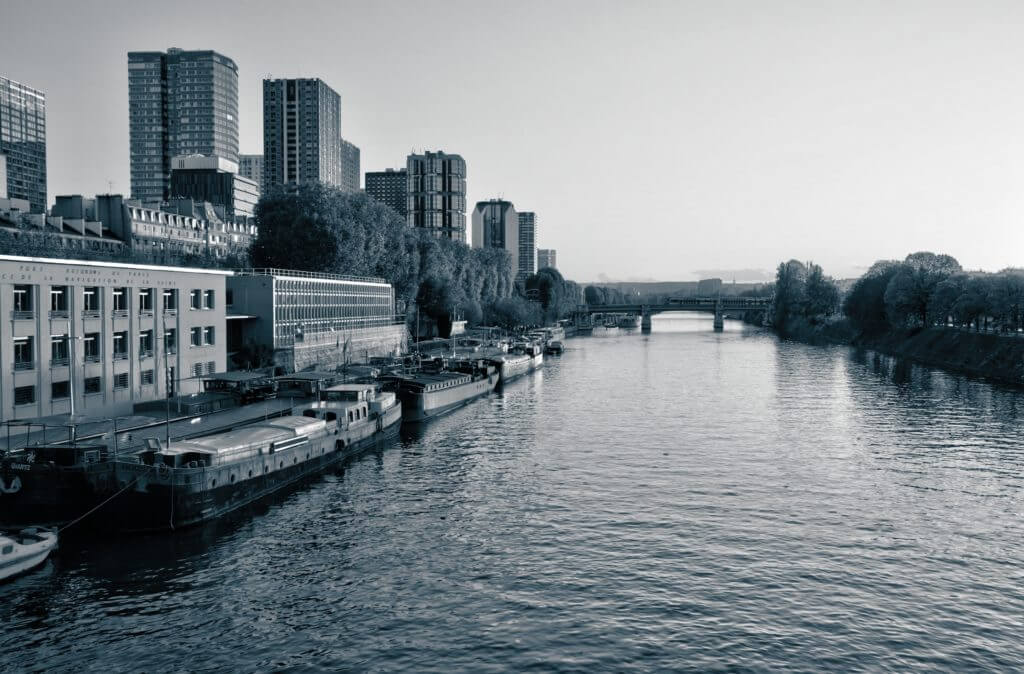
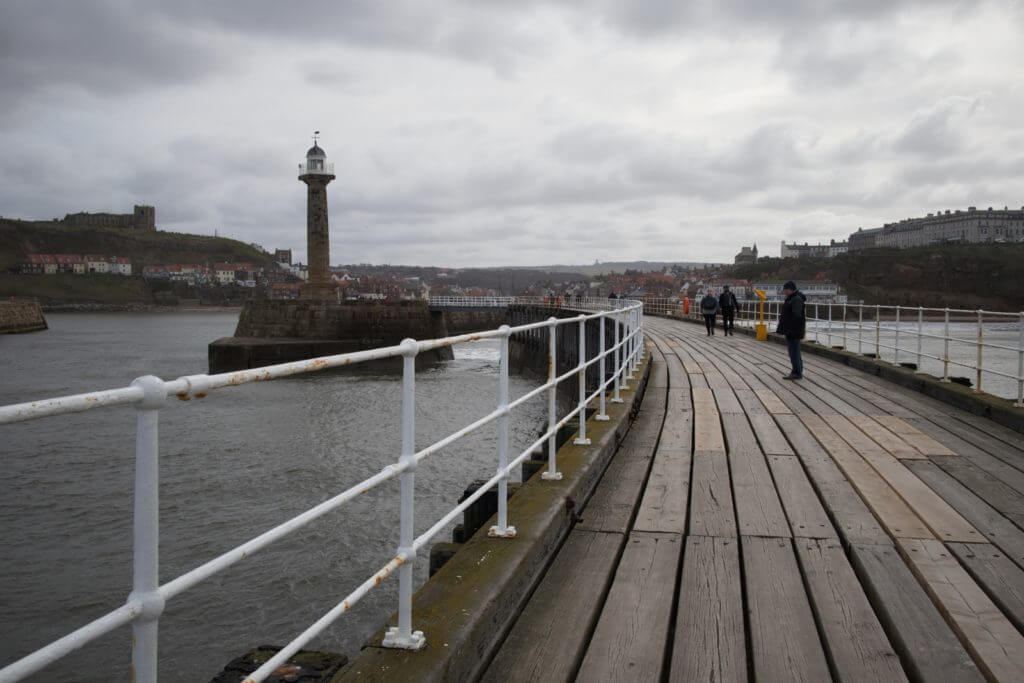
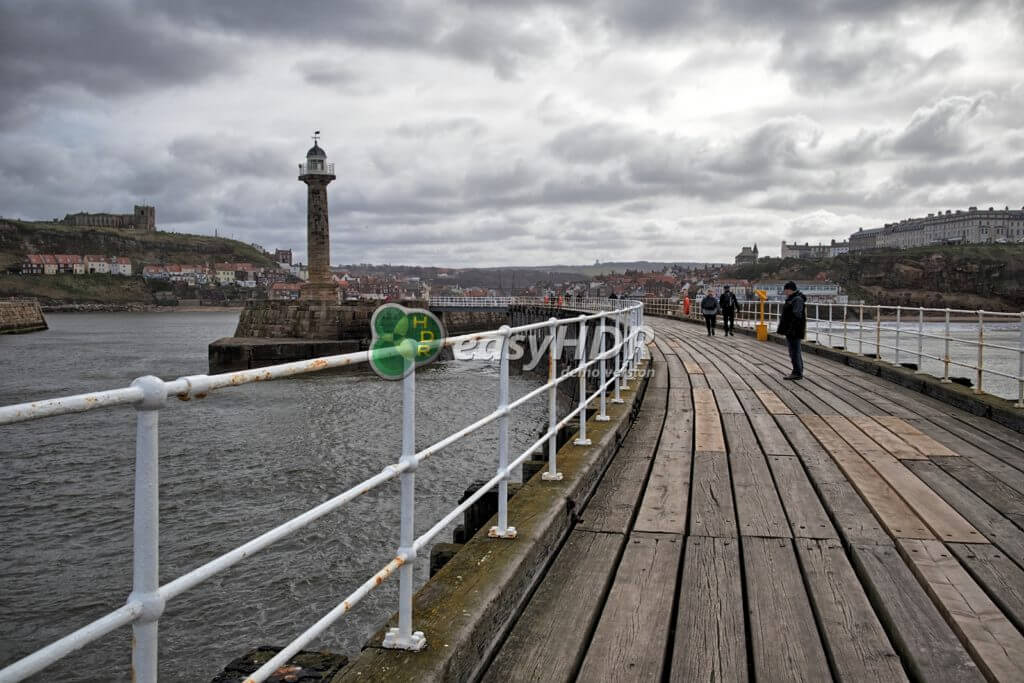
Here you can see an un-edited composite and below that, we have displayed a contrasting composite image created using EasyHDR. As you can see, the image created by Oloneo HDRengine is not as bold – but the detail in both light and dark areas has been retained:
Post Processing Features
This is the main area that Oloneo HDRengine falls short. It has virtually no post-processing options. The only parameters you can edit include:
- Tone mapping strength
- Exposure
- Brightness
- Contrast
- Temperature
- Tint
Essentially, when creating this Oloneo HDRengine review, we quickly found out that this program is not meant to be a comprehensive editing suite. It is meant for one purpose only – to create quality HDR images.
If you want to create masterpieces, you will, unfortunately, have to export the file into other editing software – it’s simply not meant for that purpose.
Presets
Oloneo HDRengine does have a decent selection of presets. These include standard edits to boost contrast and clarity, but also some artistic and surreal effects. Applying these effects is simple – just use the toolbar on the bottom left-hand section of the edit tab.
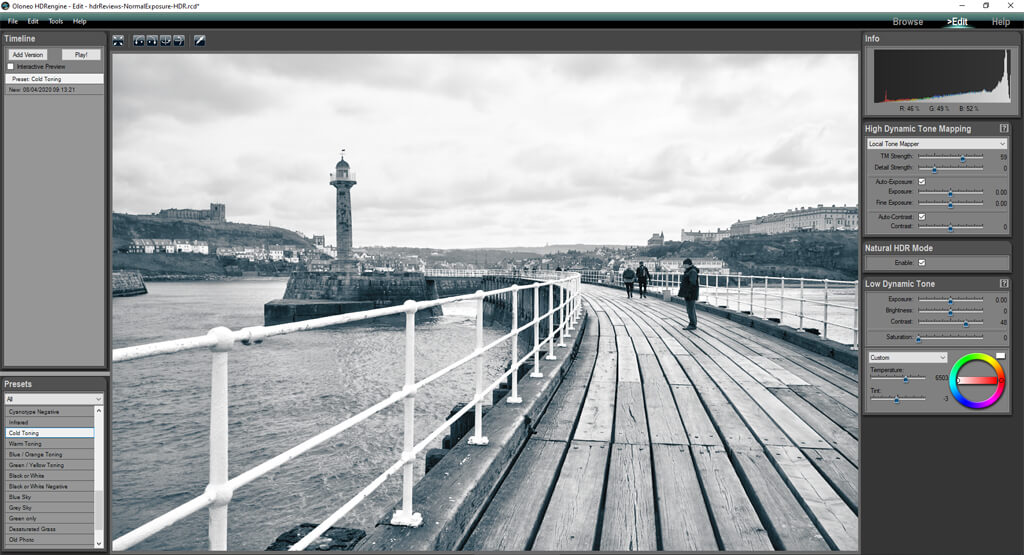
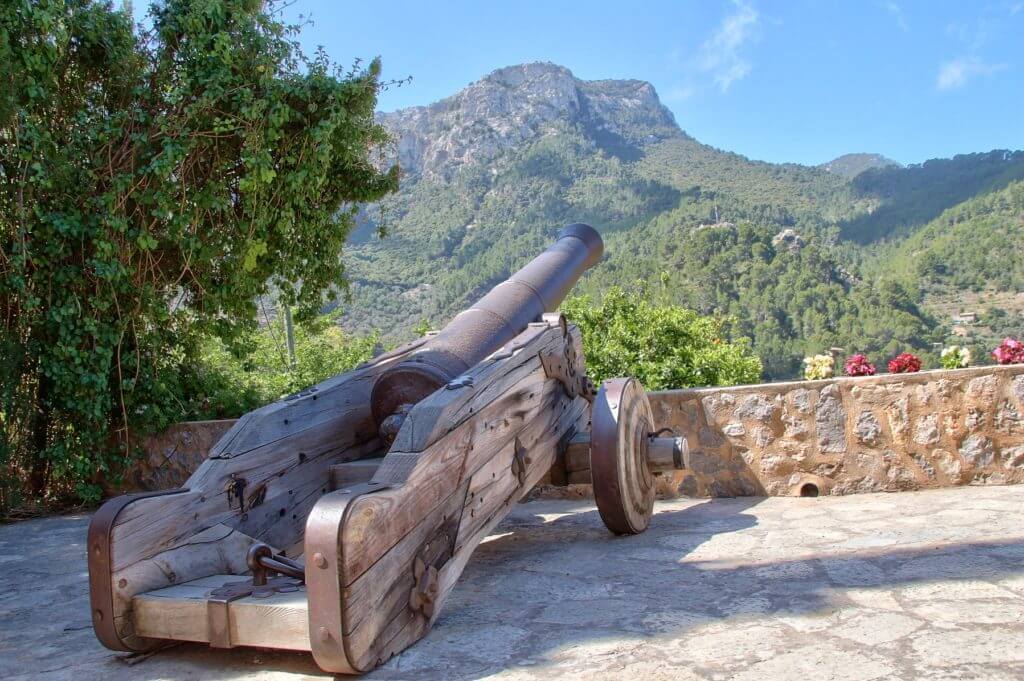
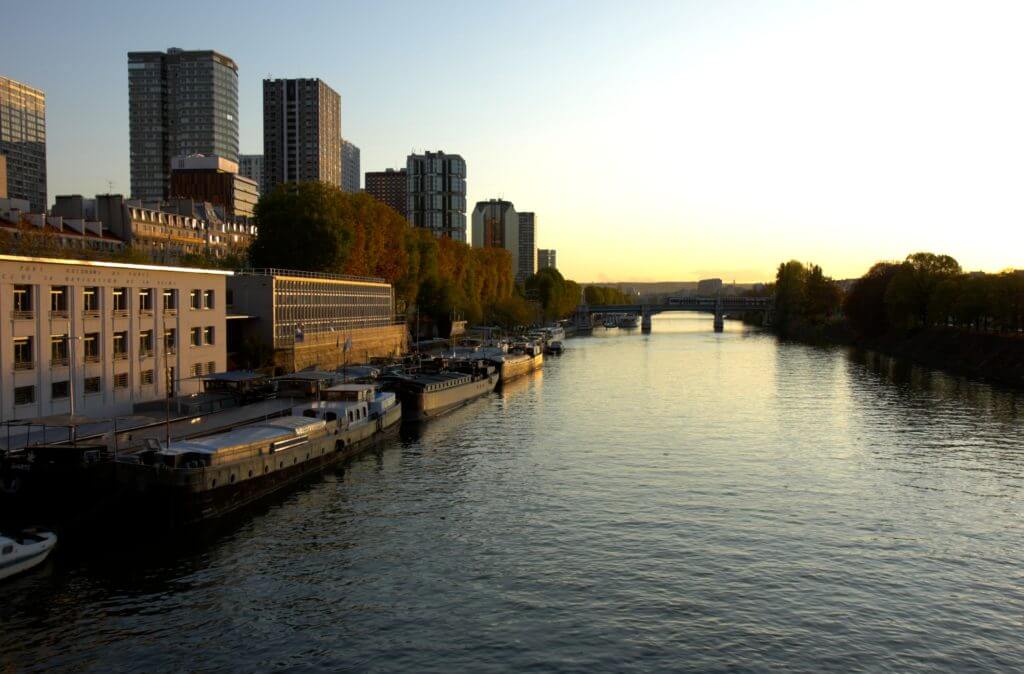
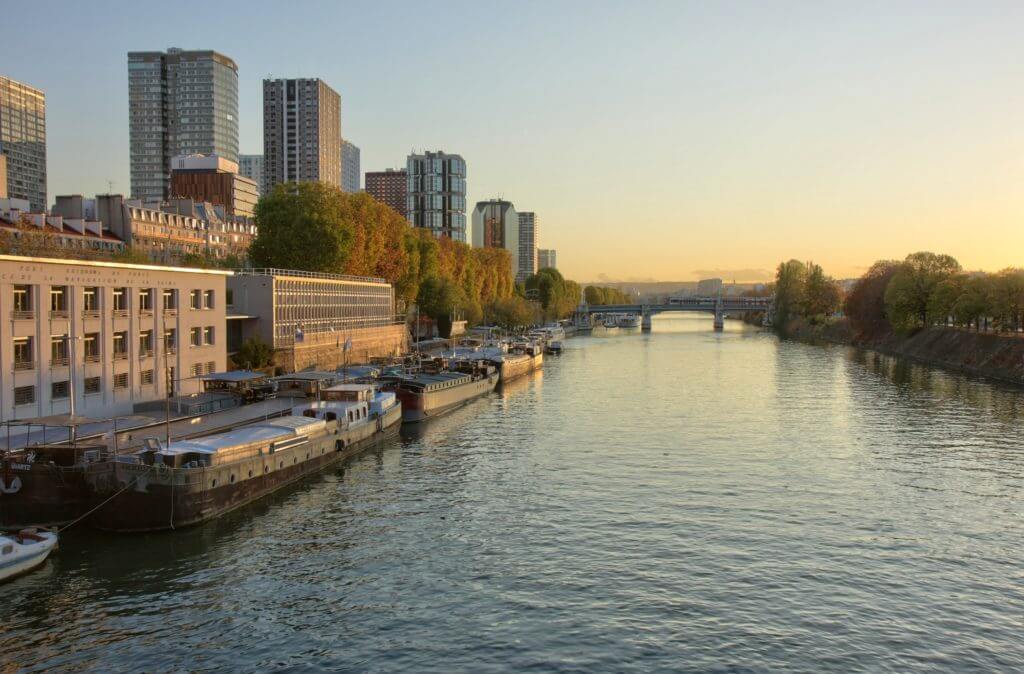
HDR Examples
To conclude our Oloneo HDRengine review, we have created a myriad of examples for your benefit. We spent time testing the HDR engine to show the quality and gain an overall idea of how effective the process was. Below you can see several examples both with standard edits, and using some of the post-processing effects available: