If you have the feeling that in photography, you have already tried everything, do not take it for granted because there is still, at least, one technique capable of surprising you: how to take infrared photos with digital camera.
This discipline will allow you to photograph a light spectrum invisible to the human eye between 700 and 1,200 nanometers while blocking the visible, ultraviolet spectrum.
How To Shoot Infrared Photography – Step by Step
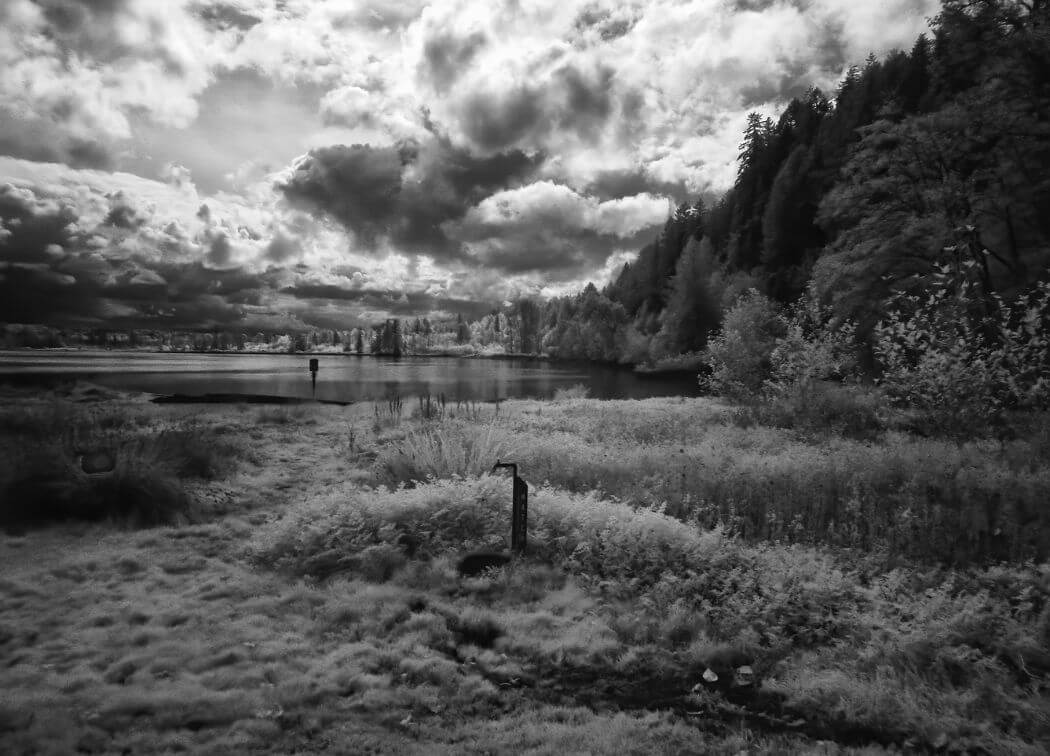
In this way, you will be able to obtain magnificent skies of a powerful blue color, with highly contrasted white clouds and dream-inspired trees and vegetation.
Before knowing about how to take infrared photos with a digital camera you should about the equipment that you need for infrared photography.
Equipment needed for infrared photography
Infrared Camera filter:
As we mentioned at the beginning of the post, infrared light is invisible to the human eye.
Therefore you need an infrared camera filter that allows you to visualize it.
To do this, screw the filter in front of the lens with which you will practice this photograph to block ultraviolet rays and let the invisible infrared spectrum pass.
The most common graduation of the filters used in this type of photography is 720nm (nanometers).
Although sometimes, you can also use other more extreme like 850nm and 950nm.
To start, we advise you to get a 720nm one such as the Hoya R72 infrared filter.
It is the most recommended by professionals and available in a wide variety of diameters.
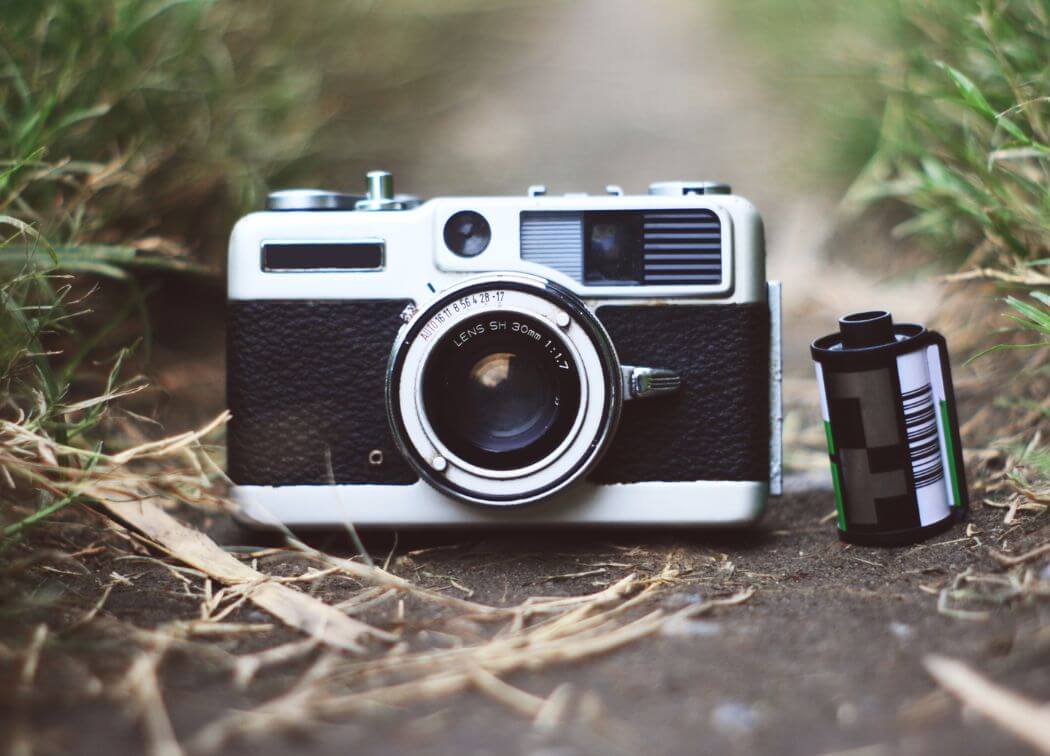
Camera:
The filter of your camera’s sensor has a decisive influence on the exposure time your photography will need.
Some cameras incorporate sensor filters that are more forgiving of the infrared spectrum and require shorter exposure times when placing an infrared filter.
If your camera sensor is less permissive with the infrared spectrum passage, you have to take longer exposures.
Tripod:
By placing the filter on the lens, you will see that suddenly the scene darkens.
That will force you to take long exposures, almost as if you were photographing a night scene, and your camera must stable on a tripod to avoid possible shake.
Keep in mind that even if you use a tripod for infrared DSLR camera, you should avoid windy days since, by including vegetation as the main element of the scene, its movement can spoil the shot.
Objective:
Not all lenses are suitable for this type of photography, as some can produce annoying reflections (flares) and flashes (hotspots).
In this particular case, the lens’s quality does not protect us against these unwanted effects; some lower quality lenses do not produce them while others with the right treatment and sharpness do.
In any case, it is best to use a wide-angle lens since, although you are going to apply a different technique, you are going to photograph landscapes, and you will need to include a large portion of the scene in your frame.
Parasol:
It will help minimize reflections and flashes mentioned in the previous point since they prevent the sun’s rays from reaching the objective directly.
Also, your photos will gain in contrast, and the colors will appear more saturated. In any case, try to always photograph with the sun at your back.
How to take an infrared photo with a digital camera
Are you in the search of how to take infrared photos with a digital camera? You must also follow a series of steps that we detail below.
Framing and focus:
First, choose the frame that you prefer. Remember to preferably frame places with varied vegetation, water, and clouds, and leave the sun behind you.
Mount the camera on the tripod and disable the Image Stabilizer to avoid unwanted shake.
Once you have the camera stabilized with the correct frame, focus in automatic mode, and without changing the focus, switch to manual focus mode so that when you press the shutter button, the AF is not activated.
Exposition:
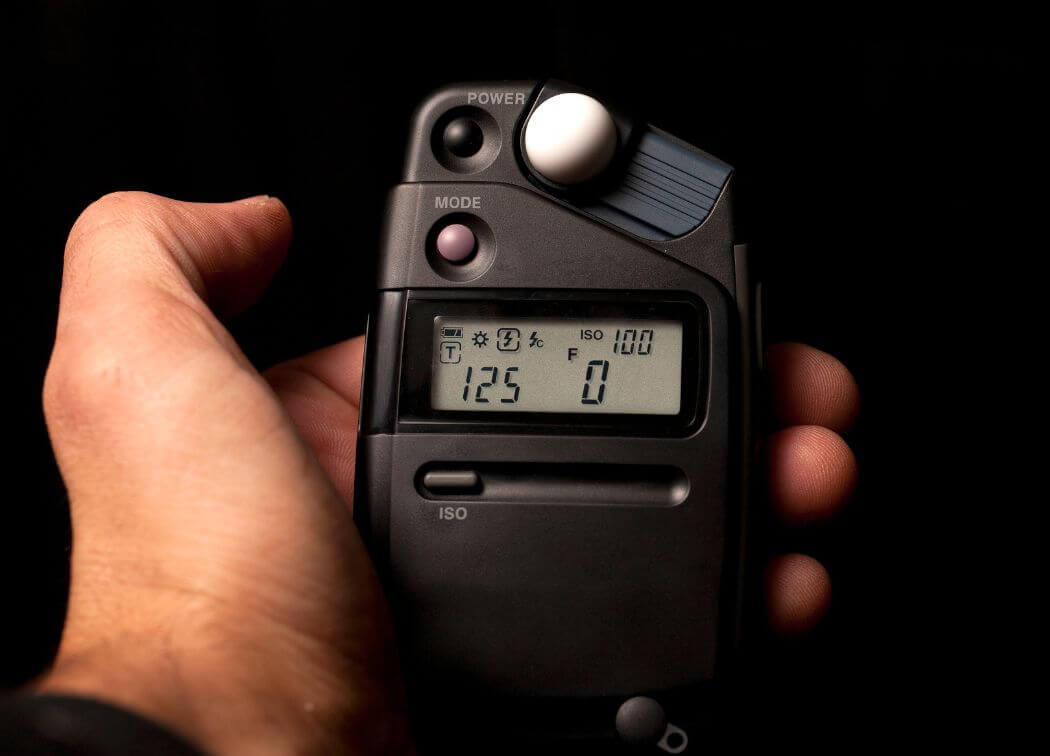
The infrared camera filters will require long exposure times and confuse the camera’s exposure meter, so you must expose it in manual mode.
You can start by orienting yourself by the camera’s exposure meter and varying the exposure until you get the required histogram.
Take advantage of having the camera on the tripod to use an ISO value as low as possible.
The best way to check the exposure in this type of photography is to use the histogram.
It would help if you got a histogram slightly shifted to the left (underexposed), as centered as possible, keeping the previous criteria and without any information in the right quarter of the histogram.
The exposure time required to achieve an exposure of these characteristics varies depending on your sensor filter’s resistance to infrared light.
Infrared Photography Processing (Step By Step)
Once you have taken the shot, you must go through an editing program so that the result is the desired one.
Now follow these steps:
1. Correct the exposure until the histogram is slight to the left and without any information in the right quarter.
2. Use the color temperature control mode eyedropper to indicate that the photo’s brightest area is pure white. Of the usual programs, you will achieve the best results when performing this action with Camera RAW. This action corrects the excessive orange cast; you will see that after applying this action, it is now less orange.
3. Correct the photo settings. This is a very personal process where the retouching depends on the photography itself and each photographer’s style. However, as the processing at this point involves working a bit blind because you still won’t see the real colors, we provide you with the standard values suggested by experts in some forums:
- Lighten shadows: 25%
- Brightness: 10%
- Contrast: 20%
- Saturation: 20%
After this step, you should have a photo with white vegetation and a grayish-orange sky.
4. To finish, you must invert the color channels to turn the orange into a beautiful blue sky. To do this, you can use an editing program like Photoshop. Again, experts recommend these defaults:
- Red Channel: red 0%, blue 100%
- Blue Channel: blue 0%, red between 75% and 100%
If you prefer a dark sky between black and orange, you can skip this step more dramatically.
Conclusion
After reading this article I hope you understand how to take infrared photos with a digital camera.
However, in any new technique that you try for the first time, to get the hang of infrared photography, you will need some practice until you get the results you want.
Do you dare to try it? We look forward to seeing your first infrared photos in the comments!