One of the most common types of effects on photoshop is HDR. Therefore, it is important that you are careful about a few things and you have to take tutorials to get through.
When it comes to hdr photoshop tutorial, here are a few things you need to know.
Step 1
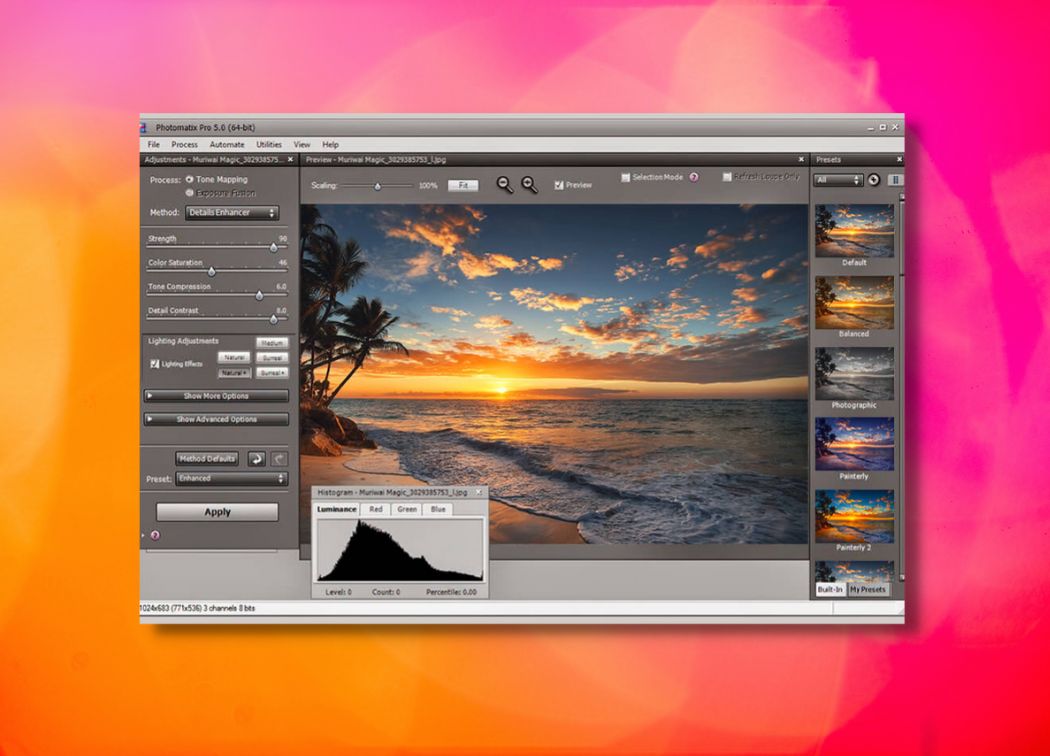
The first move of the photoshop HDR tutorial is that when it comes to the base of HDR photoshop, you have to add a substantial effect.
You can use different commands to change various aspects of your pictures. The most common shadow amount is as following:
Tonal width, 50 percent, radius 41 px, 45 percent, high light amount, 83 percent, tonal width, 76 percent and radium 1120 px.
Step 2
The next step is to duplicate the layer base and then set up its layer blending to color dodge.
This blending will give the picture a very intense color and it will cause the light areas into pure white. As a result, the whole feel and warmth of the picture will change. Doing so will add a layer to your image and change its feel and appearance for good.
Step 3
The third step involves doing the same thing as in the second step but with slightly more details now. Now, layer blending will be set up to linear burn. If there are any black areas in the picture, you have to remove it.
You can configure the background color to black and use command select. You can choose color range, tick off invert options, fuzziness should be set to 100. You can click the red marked icon, and select a new layer mask and will be added and the black will disappear.
Click on the layer mask and use the Gaussian blur filter in order to remove the ugly artifacts of the picture.
Step 4
When it comes to the fourth step of the hdr tutorial photoshop, you need to know it’s pretty easy. You have to just duplicate the layer linear burn and set it’s blending to overlay. You can select a layer mask and then choose invert.
This blending will eliminate any darkness or too much light shadows and it will raise contrast. Layers and blending are a very powerful tool and these two are thoroughly included in the fourth step. The idea is to increase the contrast of the images and add finesse to your pictures.
Step 5
If you are talking about tutorial hdr photoshop, you need to know that you are approaching towards the three final steps of the images.
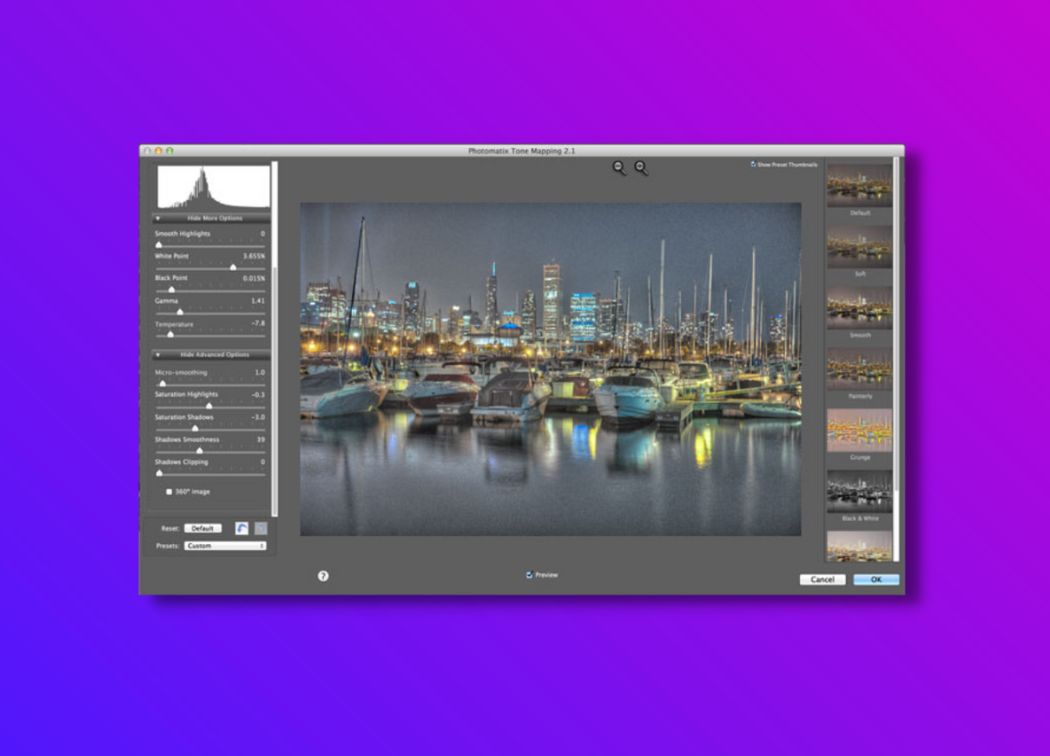
It is not time to adjust the picture in the fifth step and try to experiment with the layer opacity of the picture. When it comes to optimal values, you have to add about 40 percent for layer overlay and 55 percent for layer linear burn. The whole idea of hdr photoshop tutorial has been based on experimentation.
The fifth step of the photoshop hdr tutorial is more about retouching so in this step, you tend to discover the optimal values for your images to ensure that you set them right.
Step 6
The step 6 of the photoshop hdr tutorial involves establishing a foreground color to white and use the command select. This will open up an important color range for you. You can adjust the fuzziness of the images to 100.
You will see crawling ants emerging on the pictures. These will usually appear on the light areas. You can choose to duplicate the base layer and also move it up and then add a layer mask and click on icon. You can even choose to select a layer mask and soften it by the use of Gaussian blur filter.
Just as the step number 5, the step number 6 involves improving the image quality so the whole idea in step number six is just that.
Step 7
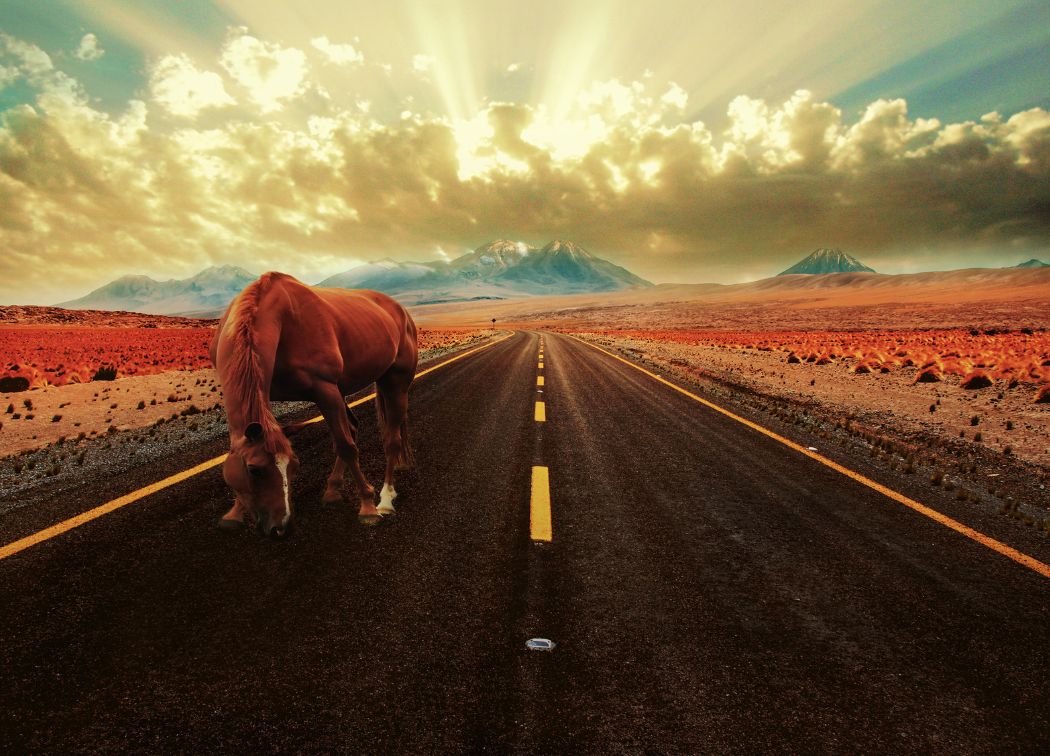
The final step is colorizing the picture in red tones. You can choose to click on the contrast icon, which will be available on the gradient map. You can make the angle according to how you like.
Once you are done with the gradient map, you can load the selection from layer mask of the layer light. Choose to invert it and then click on the layer mask icon. You need to colorize the image so you can set the opacity to 72 percent.
The above tutorial photoshop hdr will do wonders for your images as it includes every step to enhance the quality of your image. You can choose the hdr photoshop tutorial to improve the quality of your images.
Step 8
In step no. 8, you can choose to make other adjustments to achieve a good HDR look. For instance, you can use the filter ‘render clouds’, to get a good crispy touch on your image.
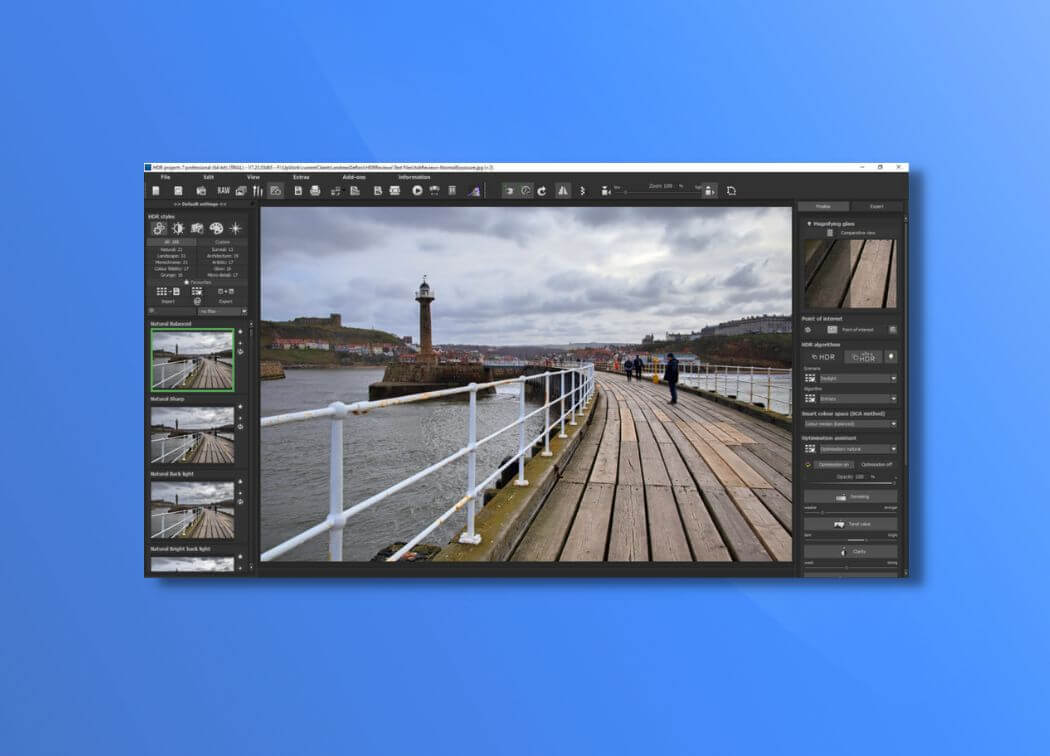
If you are interested in HDR photographs and want a good HDR photoshop software, Aurora HDR is a good choice. Available in three different packages, this software lets you edit your pictures, and do a lot more just by a few clicks.
The Aurora HDR software is available for free download for an initial trial but you have to pay $39 and $99 for the full and professional versions of the software.
All of these steps and trials will come to full use using the Aurora HDR software as it lets you experiment on your pictures and do a lot more.