In this post, I am going to provide suggested camera settings for macro flower photography. I will also discuss affordable gear such as macro extension tubes for your lens.
There will also be discussion around lighting, tripods and other gear. And lastly, staging and composition to make the photos look their best. By the way you can use this info for macro photos of any small subject, not just flowers.
Like many other photography situations, I cannot just say use these specific settings in every situation. As the set of variables change, the settings will need to adjust accordingly.
The next few paragraphs are going into some details you need to know to understand the mechanics of macro photography and how to adjust for them.
It really is helpful to understand what you will encounter and how to deal with it. This is important info and I highly recommend reading through it.
How do you take good macro photos of flowers?
1. Let’s start with the basics – Focus on distance
All lenses have a “closest focusing distance” specification. This is the limit on how close you can get to a subject and still be able to adjust to a sharp focus on that subject. That closest focusing distance varies from lens to lens.
Sometimes you see the word ‘macro’ in a lens description. This means that the lens will allow for a closer focusing distance than other lenses will. When thinking about camera settings for macro flower photography, focus distance is going to be something that limits you.
2. Common minimum distance specifications
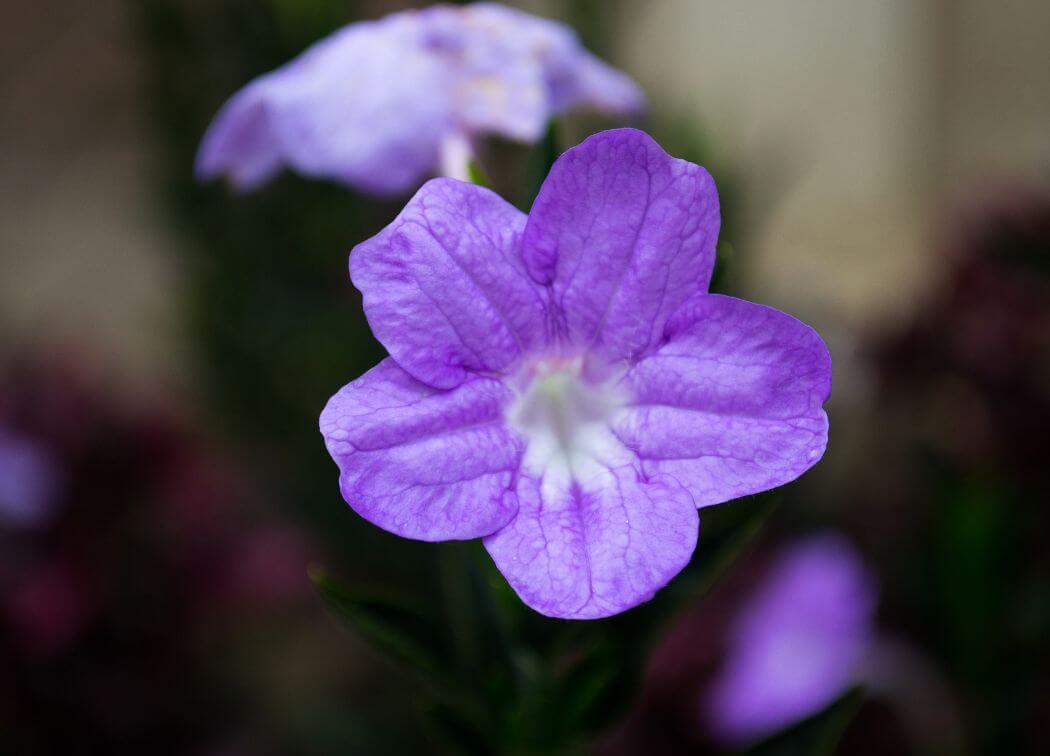
Most standard lenses will usually allow for a minimum focus distance of around 18 inches plus or minus 2 inches. If you get closer than that you will not be able to focus the lens on your subject. With larger flowers like a dinner plate dahlia 18 inches is fine.
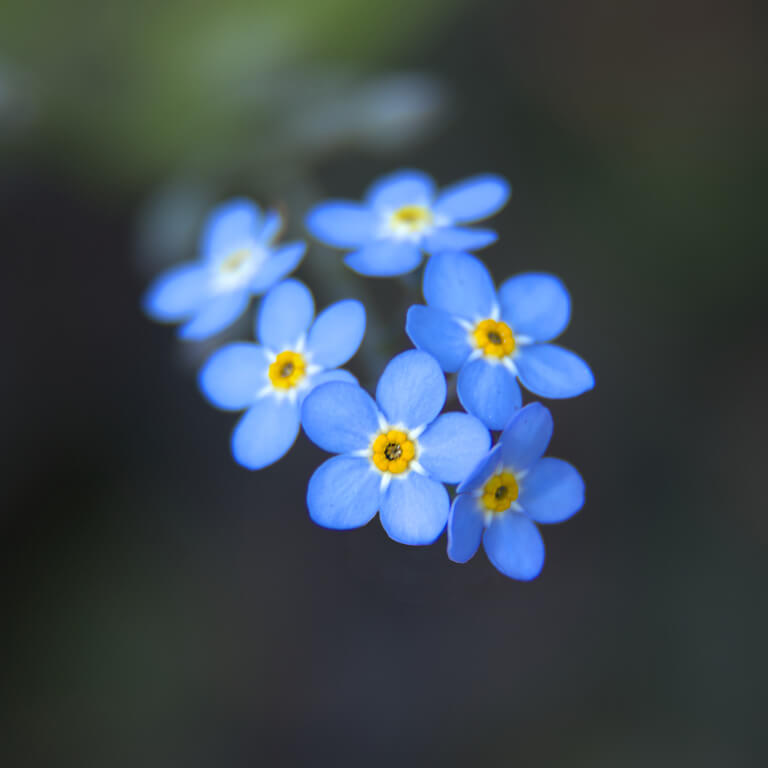
For smaller flowers like tiny forget-me-nots you might as well be 10 feet away. You are not going to get a tight shot of those from 18 inches away. Something that small is going to require getting as close as 5 or 6 inches away. More on how to resolve that further down.
3. Testing your lens focus limits
It’s pretty easy to look up your exact lens online to see what the minimum focus distance is. Most cameras have a small mark on the top that looks something like this:
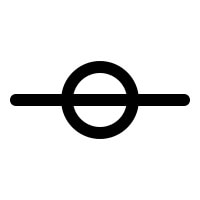
This is the focal plane mark and is the point you measure the minimum focus distance from, not the end of your lens.
4. But you can also try it out yourself
Set your Aperture to F5.6 and if using a zoom lens, focal length of 50mm. Get your camera in close, like 8 inches or so from the front of the lens. Can you still get it to auto-focus when pushing the shutter button? If so congrats! you can skip the rest of this paragraph and move on. You can also try manual focus and see if you can get it sharp.
If not, pull back a little and try again. Keep doing this until the camera will lock a focus. This is your minimum focus distance. If it’s more than 12 inches, you won’t be able to take really tight macro photos. But read on to find out how to solve this.
How to overcome the minimum distance problem
One way is to purchase a lens that has a lower minimum focusing distance. That is not really a budget friendly method of solving the problem. There is a much less expensive alternative, however.
Macro extension tubes offer an inexpensive way to help with camera settings for macro flower photography. Macro tubes move the back side (the part that goes into the camera) of the lens further away from the shutter. This reduces the angle, that light from the lens hits the sensor allowing you to focus at a much closer distance.
1. Narrowing the field
Now that you have a good understanding of minimum focus distance. The next discussion around camera settings for macro flower photography, is the impact of focus distance on depth of field. Look at the illustration below:
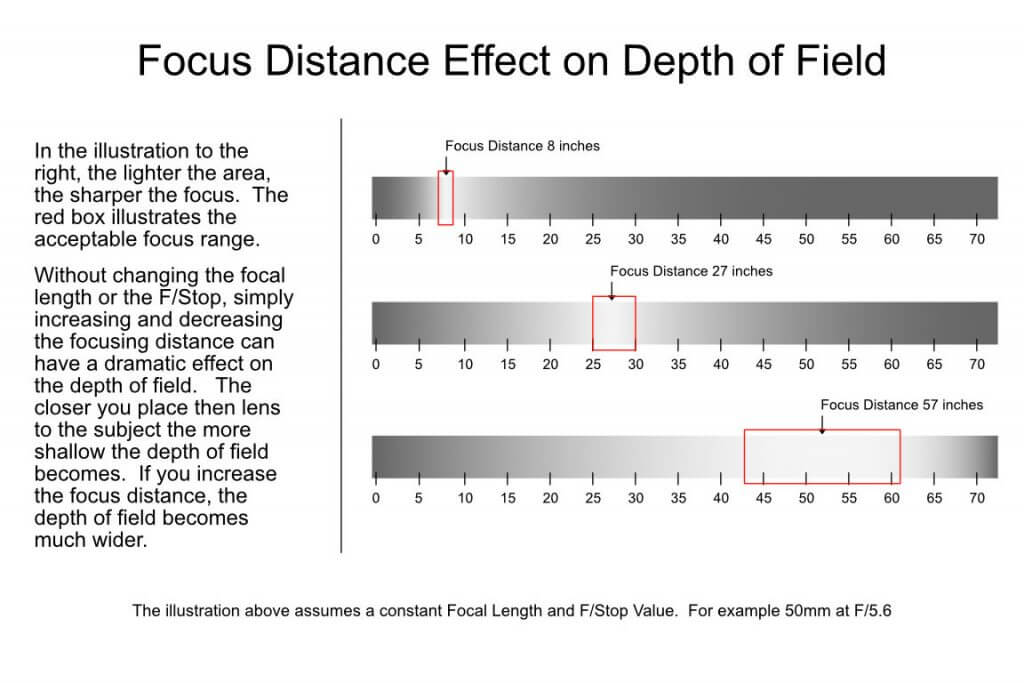
As you can see, the closer the lens is to the subject, the tighter and narrower the depth of field is. This can be a problem because not all of your subject may be in clear focus. The solution of course is to increase the depth of field. Read on to find out more about that.
2. Increasing the depth of field
We have finally come to a part of the post where we actually talk about camera settings for macro flower photography. In order to fix the depth of field issue you are going to need to increase the F/Stop on your aperture.
Put your camera into aperture priority mode (Av). Set the aperture value to F/11 if more than 5 inches away from the subject, F/16 if closer than 5 inches. This will widen the depth of field and allow for more of the subject to get into focus.
3. Shutting it down, and shutter up
With the aperture closed down to F/11 or F/16, the shutter speed is going to need to slow down (stay open longer) to allow enough light in for proper exposure. In Av mode, the camera will do this for you automatically. Another one of the camera settings for macro flower photography you might want to adjust is the ISO.
When I am shooting outdoors during the day, there is plenty of light, even when shooting at F/11. I always keep the ISO one 100 in order to minimize sensor noise and get the clearest most detailed images possible.
When shooting indoors however, you might want to bump that up a bit. I would recommend 400 if using artificial light and 800 if using indirect natural light.
4. Let your light shine
So now you have your focus distance close up. And the aperture closed down to increase the depth of field. Now you might want to consider adding some light in order to make sure the small details are visible.
You can use standard indirect lighting or even a regular flash if you want to, but for macro photography a lens mounted ring light is the perfect solution. Since it fits onto the end of the lens it puts the light right where it’s needed.
5. Getting the right balance
Another one of the camera settings for macro flower photography you need to consider is White Balance. Outdoors, auto white balance does a pretty good job of figuring out the correct color balance.
Inside, with super close focusing distance you should probably take it off auto and set it yourself. This of course is going to depend on the lighting. Indoor light always tends to have a bit of a yellow cast to it, so you need to set the WB accordingly.
Tripod Macro Photography
While it is possible to hand hold your camera when doing Macro photography. However, it’s much easier to maintain the correct focal distance if mounted on a tripod. In my experience, the closer you get, the harder it is to maintain focus.
If using a tripod, you don’t have to worry about maintaining the proper distance, you can concentrate on other aspects. Such as composition or your camera settings for macro flower photography.
Staging for macro flower photography
If you can find a big window without direct sunlight, you should consider using that as your staging area for the photo session. This will help with indirect lighting and add some outdoor light which will cool down the warmer indoor light.
Of course, you can do your staging outside. But beware of harsh direct sunlight as this will cause the highlights to overwhelm the shadows in your subject.
Composition in macro flower photography
Macro photography is really all about the primary subject. It’s usually front and center, and there really isn’t room for adding complementary objects.
You should, however, consider your background. Dark green foliage or other dark backgrounds really makes the subject stand out. Lighter colors if the subject itself is darker will help with contrast.
Conclusion
I hope this post has provided some useful information to you regarding macro flower photography. It is a little detailed but there is a lot to share.
Even if you only learned one new thing, I consider that a success. Most of all I hope you get some awesome photos! Hope to see you here again, learning in photography stuff.