This beginner photography challenge will help you learn, improve and sharpen you photography skills. In this post we will spend some time going through the following:
- Finding the scene and subjects
- Composing the scene using point of view
- setting up to shoot the photo
- Optimal camera settings
- Getting the right focus
There is also a settings table near the bottom of the post for quick reference.
Creative Photography Challenge for Beginners
Using Centered Perspective
Here is a photo composition technique that is nearly guaranteed to produce an amazing image. The human eye is drawn towards certain visual features. The human brain loves patterns and symmetry. This is why we all love reflection photos.
Another feature that people naturally love is the centered perspective shot. Today I am presenting you with another beginner photography challenge. Go out and shoot some photos using centered perspective.
Finding Perspective
Perspective is fairly easy to find. There are examples of it in virtually any city or rural area.
Your basic straight highway, that you can see down for some distance is a common sight. You should be able to find scenes that contain good perspective without much travel away from your location.
Track down your subject
Train tracks can make an awesome subject for centered perspective. This especially true if there are objects of visual interest on both sides of the tracks.
Building and factories, rows of trees, land sloping up away from the tracks. All of these things will increase the feeling of perspective for your shot.
The highway to photo heaven
I mentioned streets and highways before. And roadway to goes on into the distance is a great opportunity.
Sometimes a street dead ends perpendicular to another street creating a “T“. If you put the middle of the intersection in the middle of the frame, that can be a great composition.
Row, row, row your shot
Anything that is in straight neat rows, can make for great perspective shots. A tree lined street for example. A path with a fence on either side.
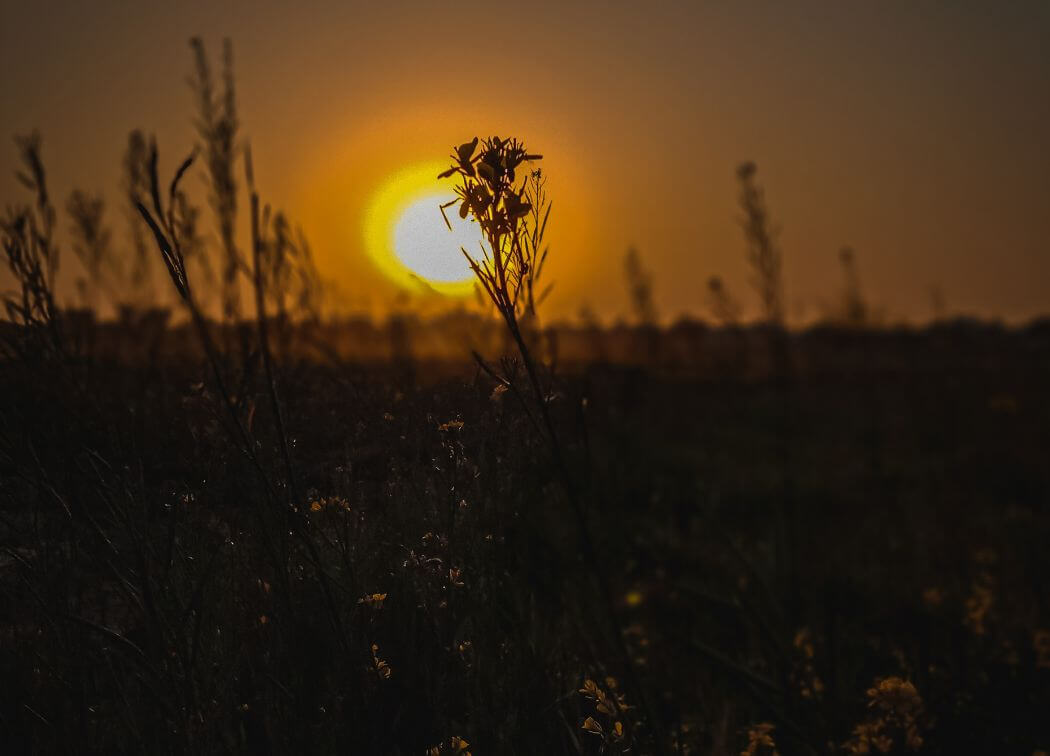
Even crops in a field can be used to find some perspective. Wherever objects follow each other into an ever-diminishing distance is where you can find some perspective.
Finding the point of view
To get this correct feel for the centered perspective shot, you need to position yourself in the middle. Equal distance from both the left and right sides of thee scene.
Ideally, center of the road, tracks, stream, canyon or whatever location you have chosen.
Get the low down
These scenes often look better if you are shooting from a low angle. Closer to the ground with a light upward angle toward the center of the perspective.
However, some scenes are good from high up. For example, shooting from a bridge down onto a road moving off into the distance.
Go with the flow
The feel you are trying to create is everything leading to the middle of the image. Or at least toward the vertical center of the image.
The horizon doesn’t always need to be completely in the center, however. You’ll need to feel where the proper place for the horizon to be located depending on the scene you are looking at.
In most cases the best orientation for the camera is landscape mode. Wider than it Is tall. That way you can capture the stuff on the sides running toward the middle.
There may be occasions where a portrait orientation is called for. In this case capturing more of the front to back rather than the sides of the scene.
Choosing your mount
Are you going to hand hold the camera, or mount on a tripod? If it’s a somewhat busy street, you may not be able to set up a tripod and spend some time lining up a shot. You may need to just walk out there, make your best composition quickly, snap the shot and get out of there.
If you are able to mount up the camera, you might consider using a minipod to get it closer to the ground. Such as in the shot below.
Camera settings
The scene we are discussing is one with a lot of depth. Objects close up and far away. Therefore, you are going to need a wide depth of field in order to ensure that every is in focus.
This means a high aperture value. Something like F/11 to F/16. And of course, this is going to mean putting the camera in Aperture Priority mode (A or Av on the mode dial).
Everything is a blur?
If you are going to hand hold the camera, I would highly suggest putting the ISO setting on 400. This will increase the light sensitivity and cause the shutter speed to get faster. The reason for doing this is because with an aperture of F/11 to F/16, there will be less light coming into the lens.
This may cause the camera to slow the shutter down to let in more light, but with a slow shutter comes the possibility of blur. The blur is a result of the shutter being open while the camera moves slightly.
If you are mounting on a tripod, then motion blur is less of a concern and you can forego the increase in ISO.
In fact, it may actually be advantages to have a slightly longer shutter speed in some cases. You may want some slight motion blur on clouds for example to make them look soft and silky.
Getting it in focus
This shot is going to require a more generalized focusing technique. You are going to focus on a spot in the near distance, often referred to as the hyperfocal distance. Without going into a several pages, long winded explanation, hyperfocal distance is a distance beyond which all objects can be brought into an “acceptable” focus.
The hyperfocal distance is the focus distance giving the maximum depth of field. It is the most desirable distance to set the focus on for scene with objects close and far away.
The simple answer is to focus on a spot between 17 and 26 feet away from the front of the camera. Alternatively, you can turn off the autofocus switch on your lens and set it at “infinity Focus”
In the image above, the red arrow points to the infinity symbol and its marker line. Just line up the setting marker line with the infinity line to achieve infinity focus.
A final word on focus. The objective is to get most of the scene to a reasonable degree of sharpness. The most important part of the scene is the middle distance. Make that your target for maximum sharpness.
Camera Settings Table
| Setting | Value |
|---|---|
| Camera Mode | Aperture Priority |
| ISO | 100 (400 if hand held) |
| Aperture | F/11 to F/16 |
| Focus Distance | 17 to 26 feet |
| Snap the photo | Repeat as necessary |
Conclusion
Head and look for opportunities to take some perspective shots. Use the composition info to find a good scene. Use the camera settings guide to set up for you shot. Snap some photos and check them out. Practice more from there.
The variations on the theme from there are endless. You can add in an ND filter and go for a long exposure. Maybe use a Circular Polarizer to reduce glare and improve contrast and saturation. Perhaps experiment with shooting bracketed exposures and try for an HDR composite.